16/01/2018 - 22/01/2018 Final Build
|
16/01/2018 Scoring
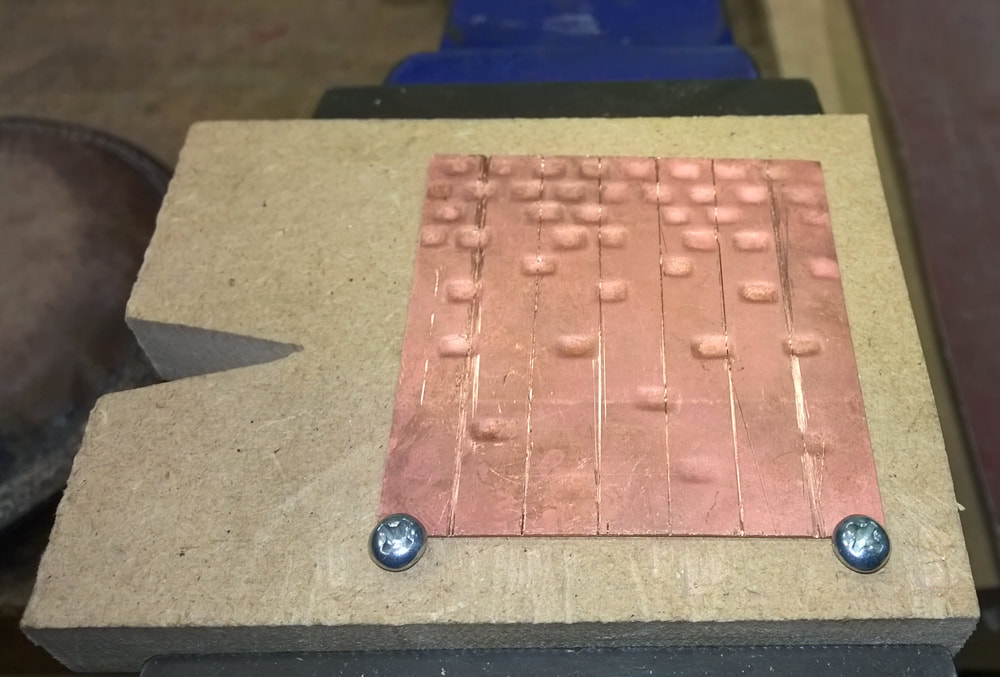
Once the brick pattern had been pressed into my copper, I could cut it to size and start scoring. I used three methods: a heart shaped burr to start off the line, then my specially made scoring tools and needle files (alternating between these last two when I got sick to death). I'm still none the wiser about how deep to go into the metal. Paul told us to keep going until there was a very clear line on the reverse. However I did this on the arc shaped piece for the waterworks tower roof, and it snapped as I bent it into shape. Too far. I only scored the other pieces until there was the barest hint of a line on the reverse, but these then proved very tough to bend and produced rather curved edges. I also filed the edges of the pieces into bevels that would solder together like the scored folds. |
|
17/01/2018 Assembly
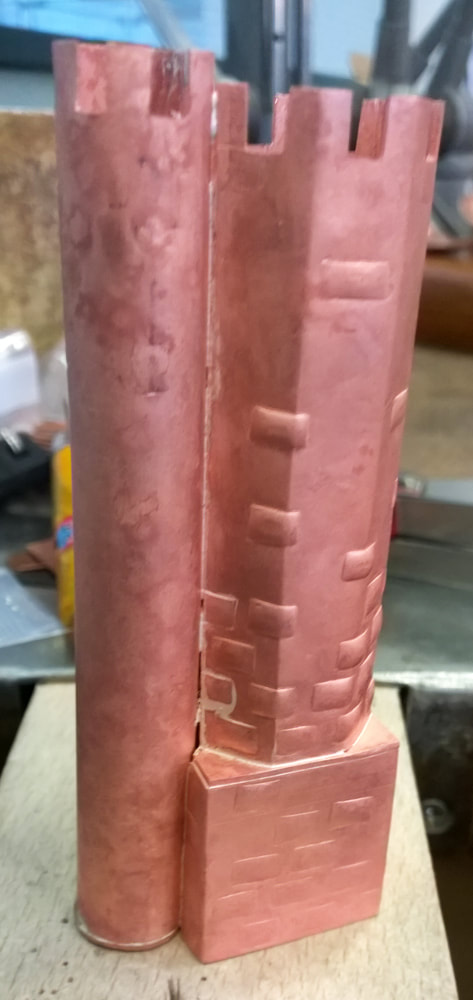
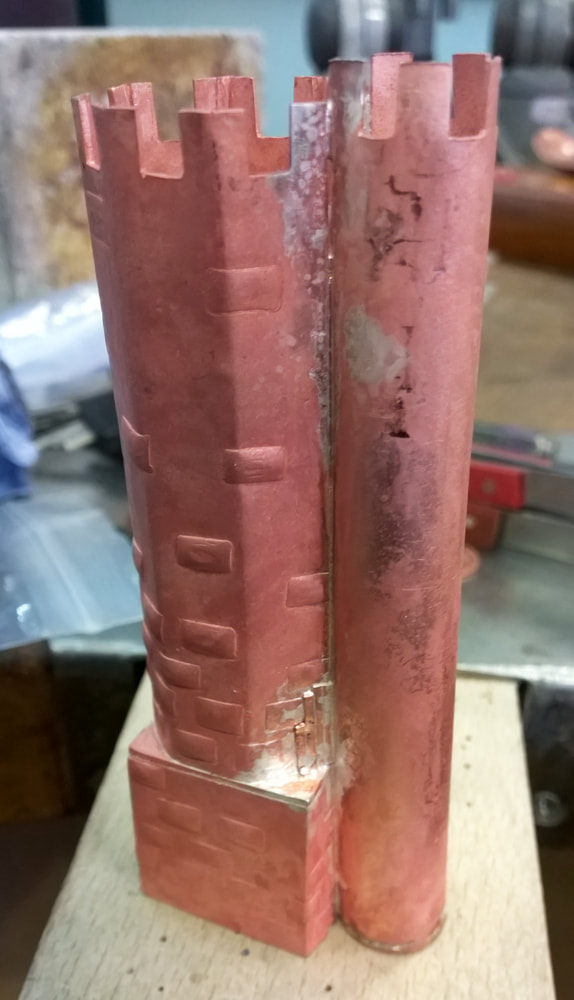
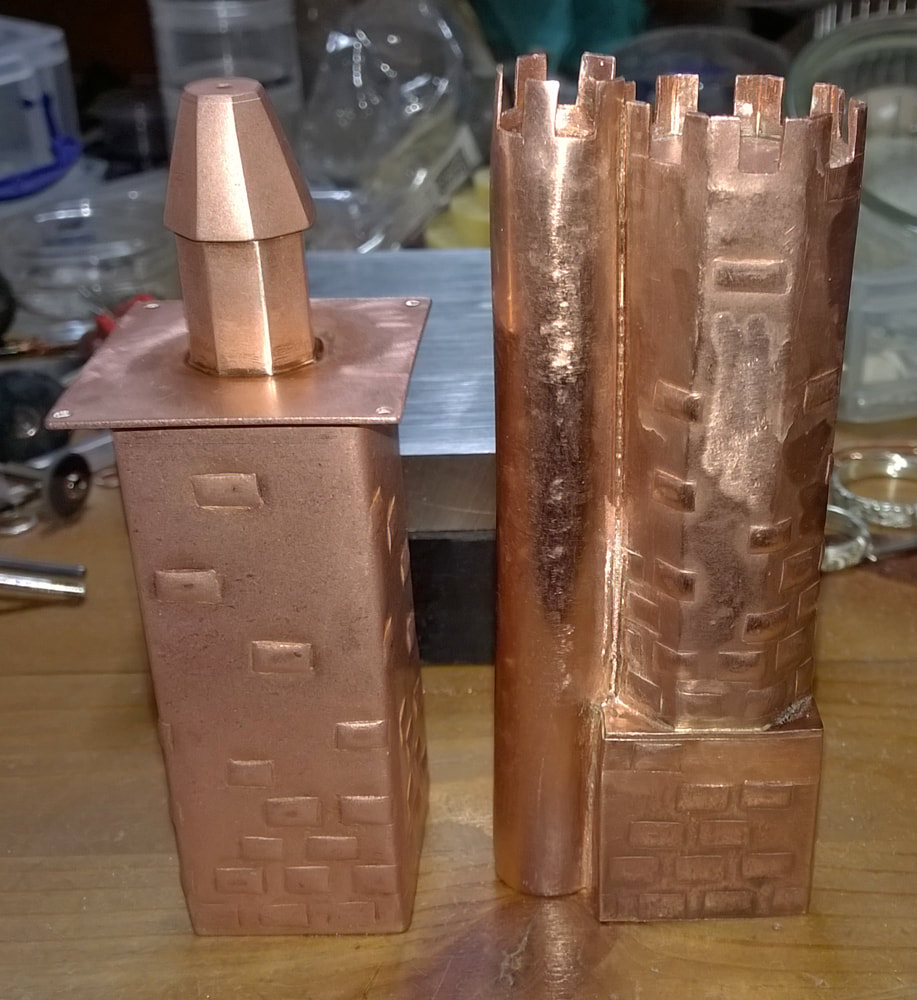
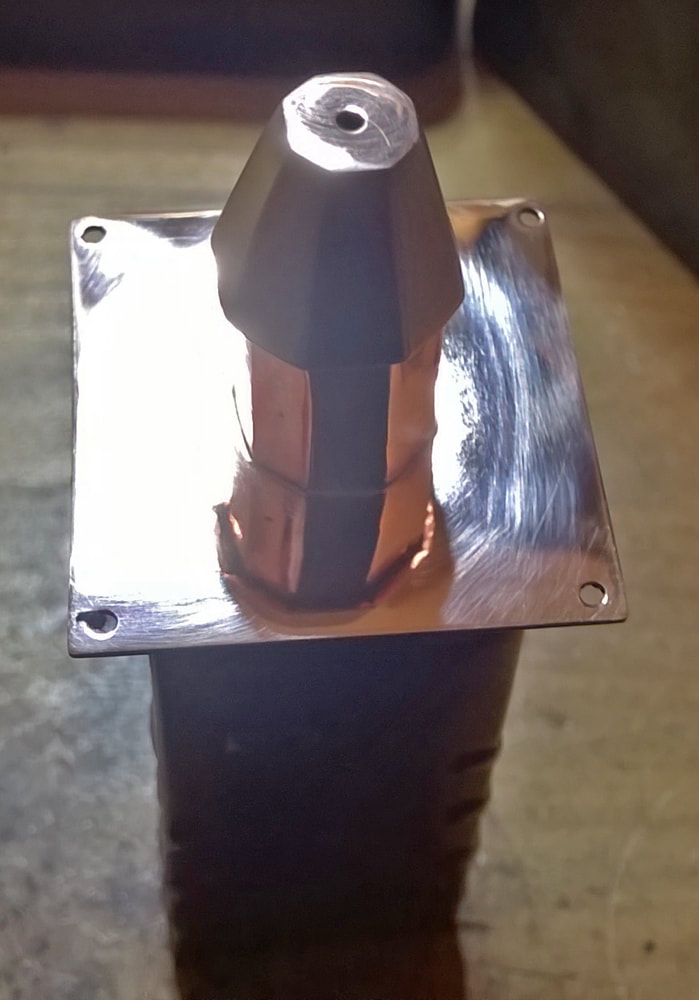
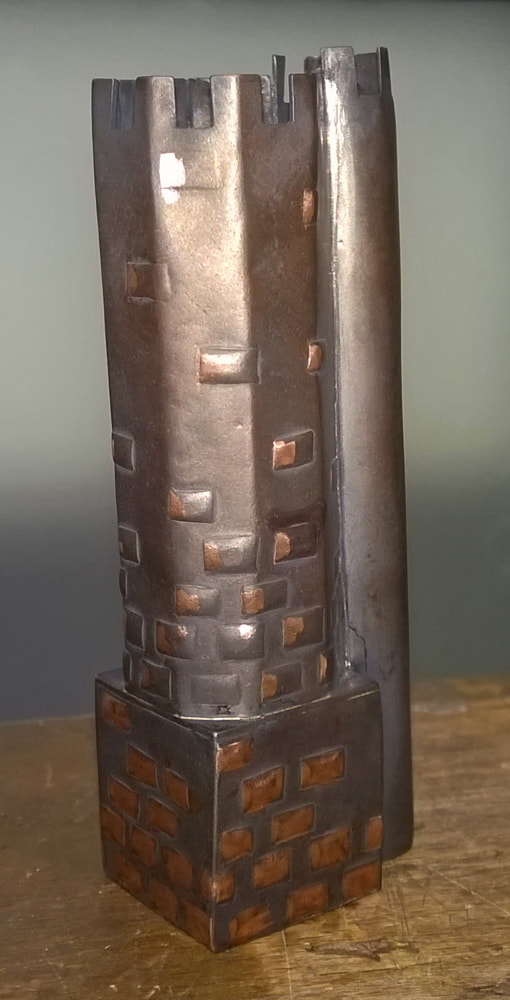
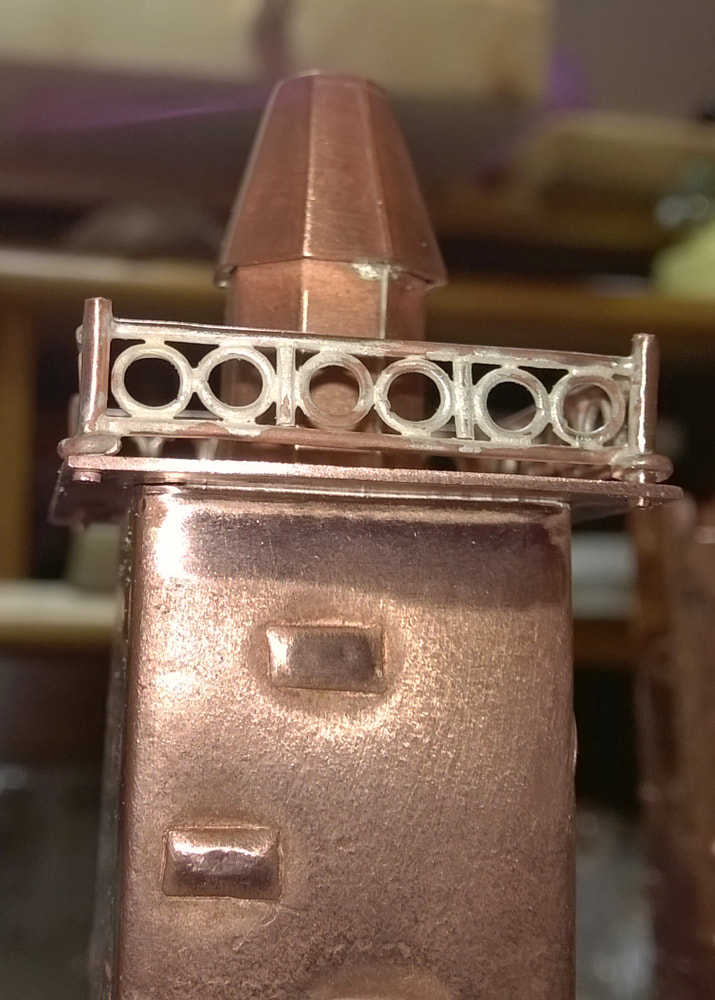
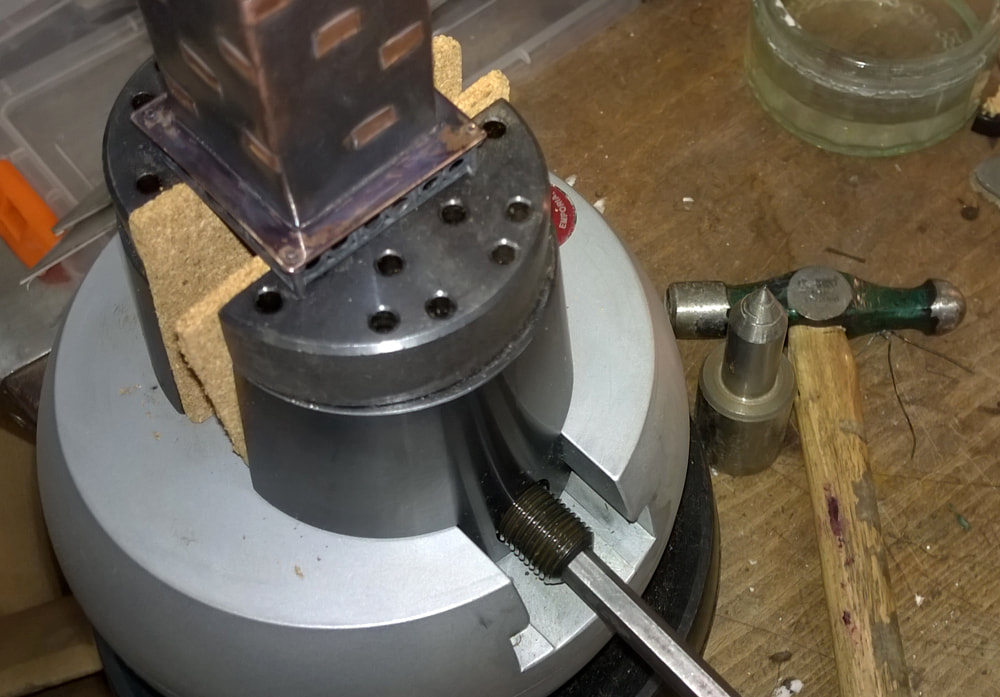
Once the scored and folded pieces were soldered, the rest of the structures started to really come along fast. The 'platform' and 'chimney stack' were soldered onto the tall square, brick textured, waterworks tower piece, and holes were drilled in the four corners of the 'platform' for the railing rivets. The folly 'staircase' had been previously had a base soldered in place and crenelations cut into the top. This could then be attached to the low brick textured cube. Crenelations were also cut into the octagonal brick textured piece, ready for soldering tomorrow. |
|
18/01/2018
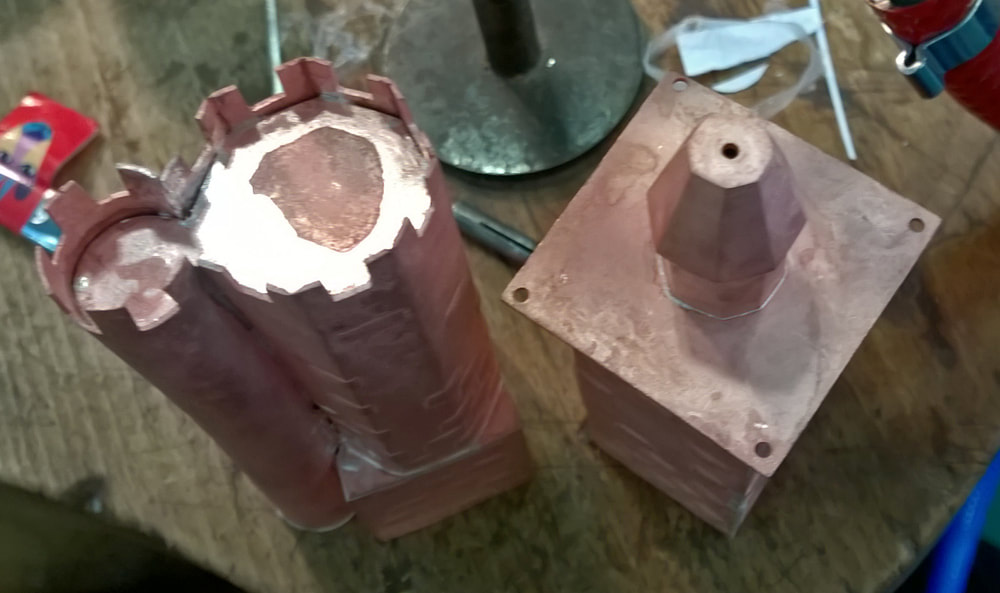
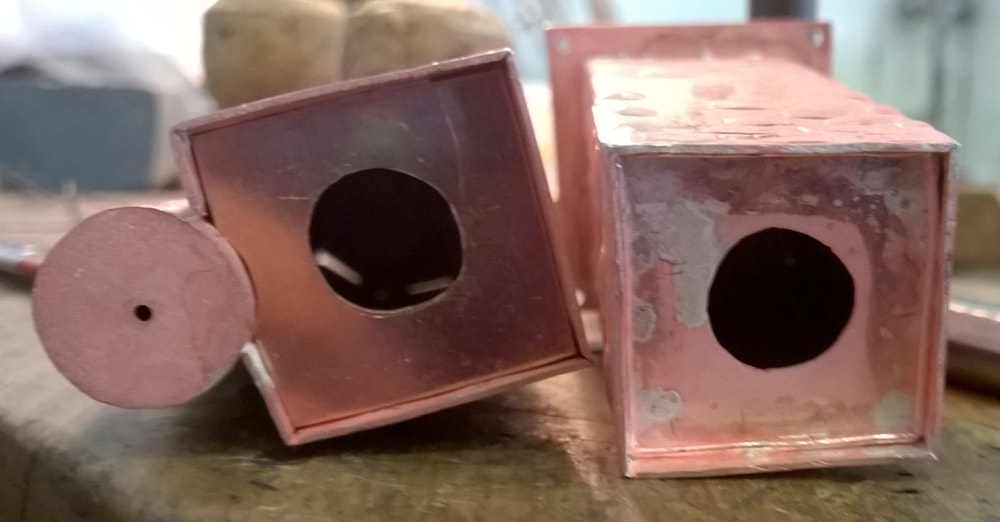
I started the day by soldering the waterworks tower 'roof' in place and adding the very top octagon which will have the hole for the salt. I then put the base in place. This has a hole for a cork and must be recessed into the tower to hide this. It’s a bit wonky but is luckily hidden most of the time. Then onto the Perrott's folly tower. I soldered the tall, octagonal, brick textured piece onto the base but as I continued up the 'staircase' pipe, the base started to come adrift leave a gaping hole. My first instinct was to flood the gap with solder however with each subsequent heating, the gap got bigger. I then tried removing the excess solder with a burr (which started damaging the copper) and opening up the join with a saw blade (which kept getting stuck). In desperation I rolled some thin wire flat and patched over the gap. |
|
21/01/2018 Matt Finish
The brick free areas had picked up a nice random texture from the steel plate. However I had to buff out several imperfections like scratches, which had removed this texture in some areas. Feeling it would be a shame to lose this surface texture, I decided on a major step - to tumble the pieces with ceramic cones... This gives a uniform matt finish that holds patina well. I tried the waterworks tower first (thinking it would be easiest to reverse if I didn't like it). |
|
22/01/2018 Patination
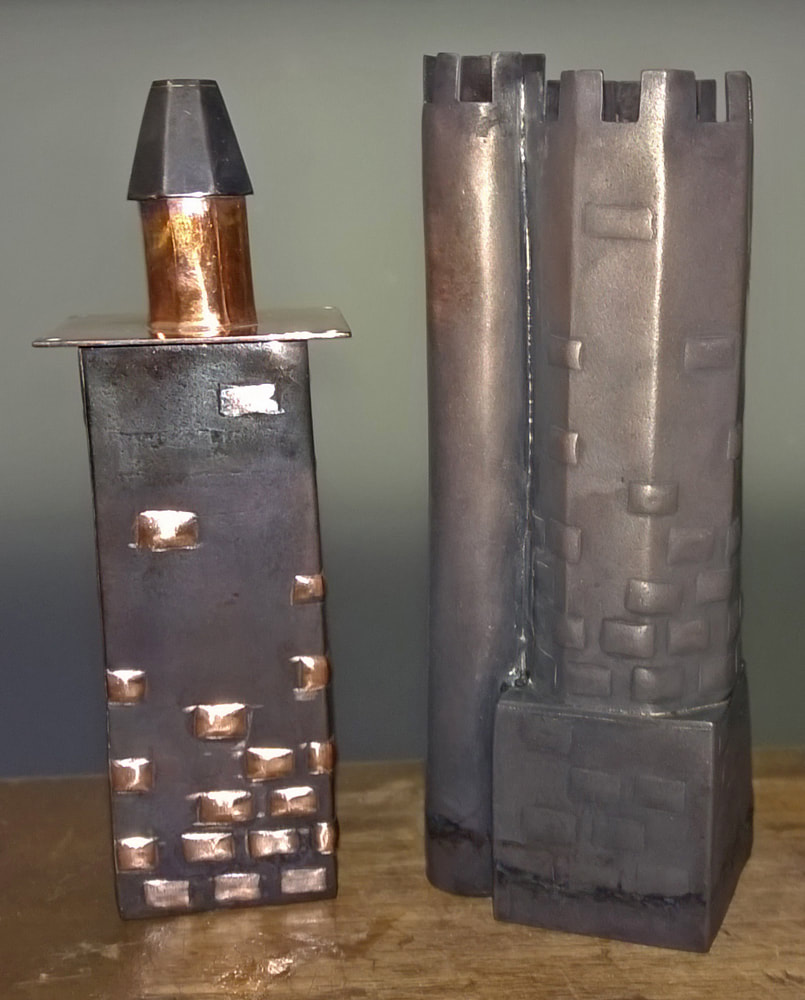
I knew I wanted to pick out the railings on the waterworks tower with a heavy black patina (to match the real thing). This informed the choice to leave the area behind them unpatinated and polished (for contrast). The folly however has no separate areas that could be similarly treated (at least on my design). I oxidised the brick patterned areas and polished up the raised areas. However I then buffed it back with a 12000 (yes 12 THOUSAND) grit abrasive cloth to bring back some texture and colour. |

