
Fine Jewellery Techniques (JEW4035)
23/02/2018 - Brooch Back
We made a double pin brooch back in our first term (ref) and replicated it on our final Tussey Mussey. However this single pin design is much cleaner, more elegant solution.
Katy was away today so we had Drew from the BA programme. He managed to explain the "theory” of brooch pins in a way no-one else had before.
The pin needs to be under tension to be secure. The double pin we made before had two sources of tension: sideways & over tube corners!!
Katy was away today so we had Drew from the BA programme. He managed to explain the "theory” of brooch pins in a way no-one else had before.
The pin needs to be under tension to be secure. The double pin we made before had two sources of tension: sideways & over tube corners!!
|
|
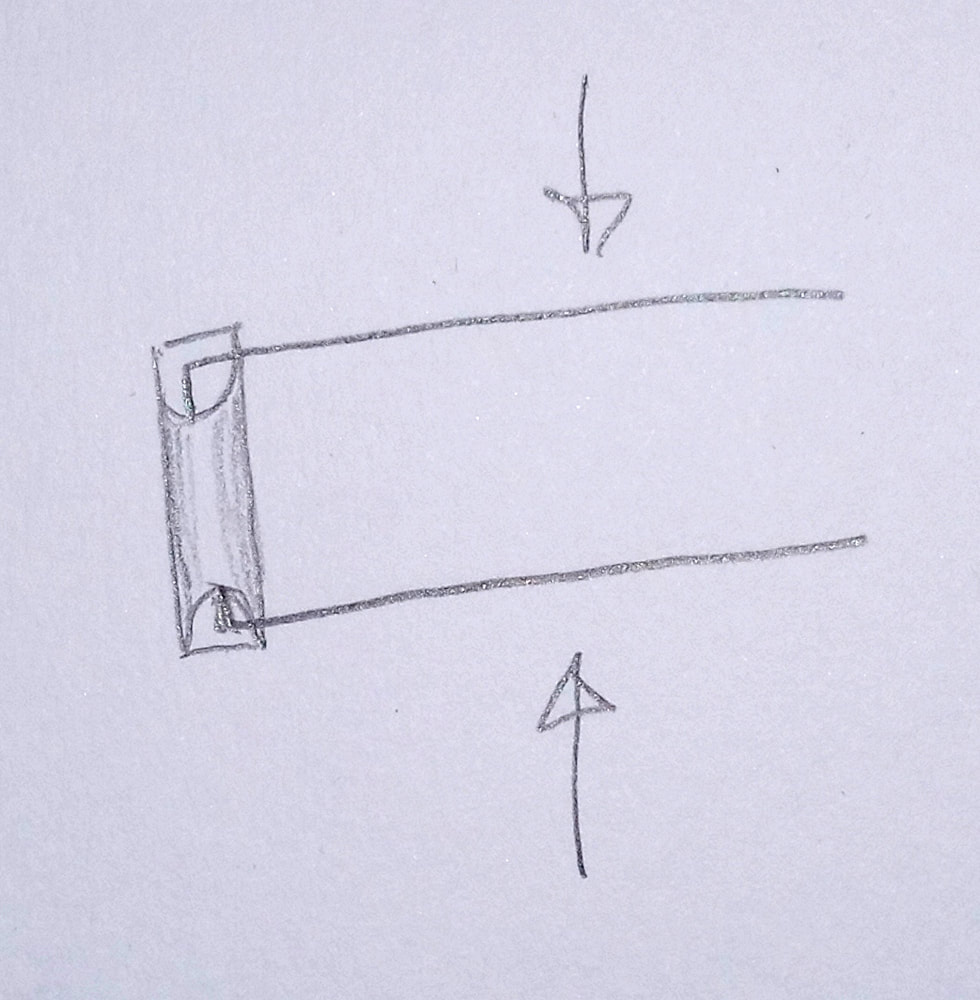
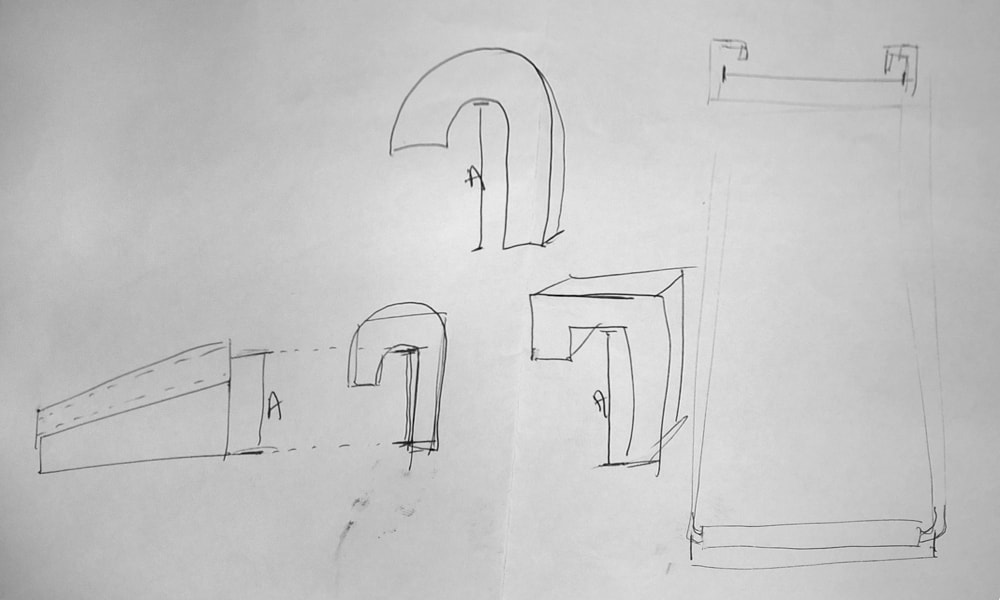
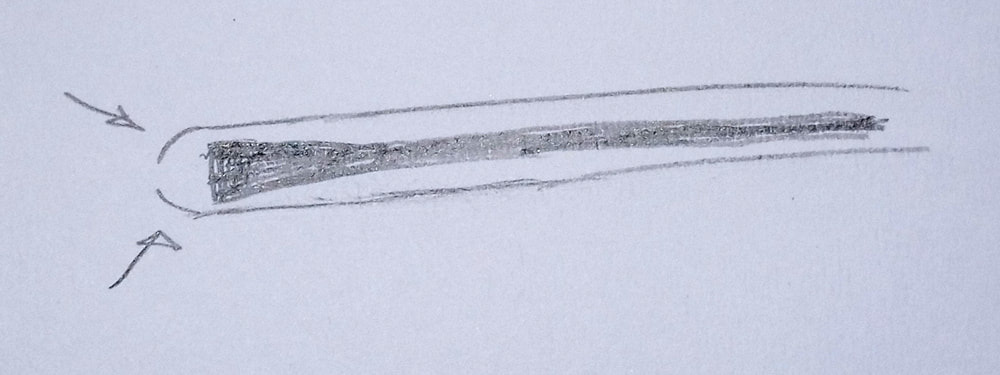
Today's method creates its tension by angling the pin upwards, requiring it to be bent to be secured by the hook.
|
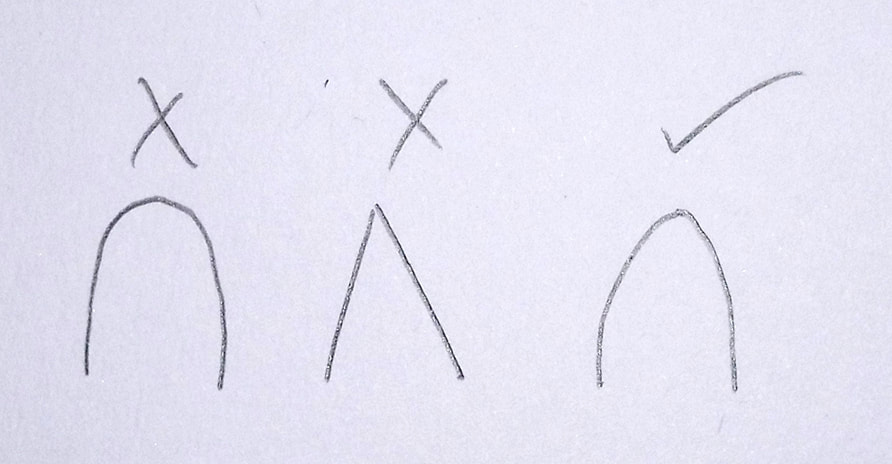
Drew also explained what the exact point shape of the pin should be.
And gave us a good tip - keep a square of cotton fabric (from an old pillowcase or shirt) in your toolbox to test your pins for snags. |
|
|
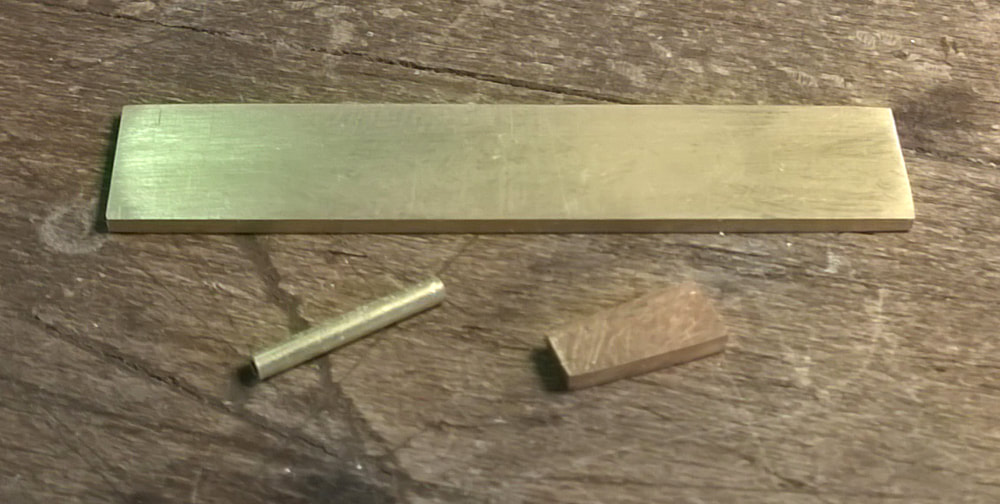
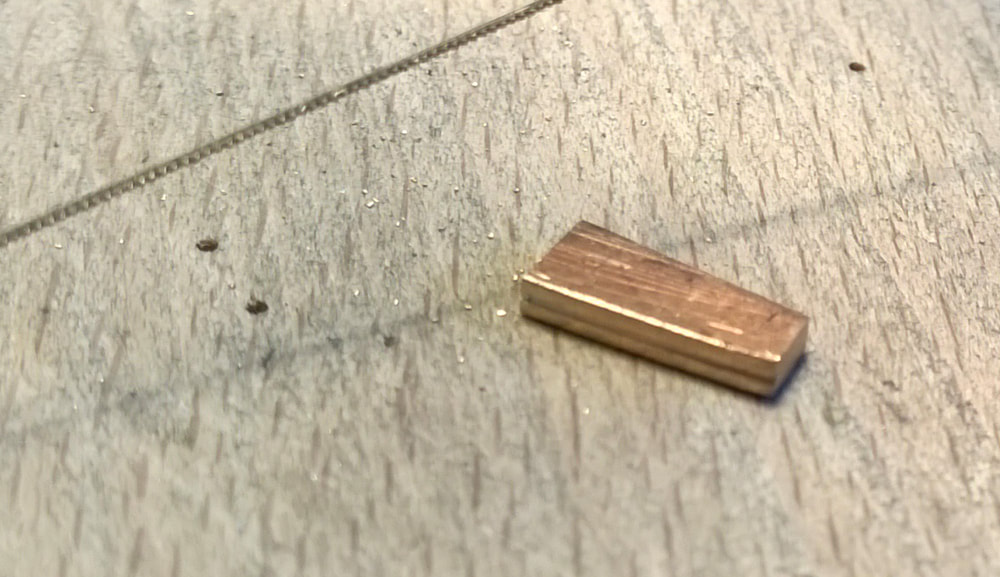
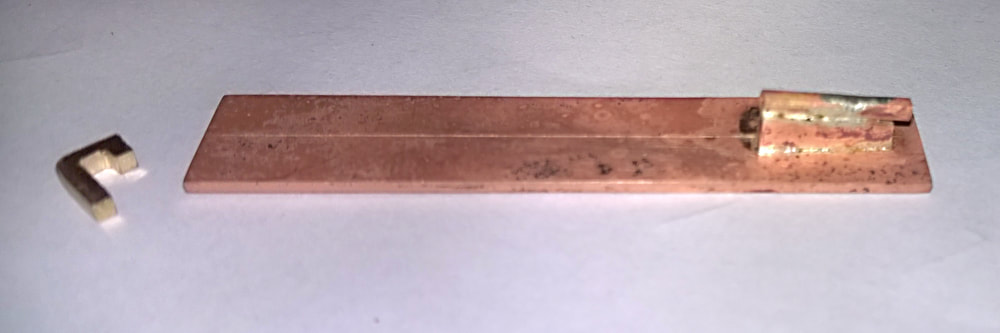
So to make this brooch back, we took some chunky gilding metal sheet (1.6mm) and cut a 10mm(?) wide shape with a square bottom and angled top (3mm-5mm tall?).
|
|
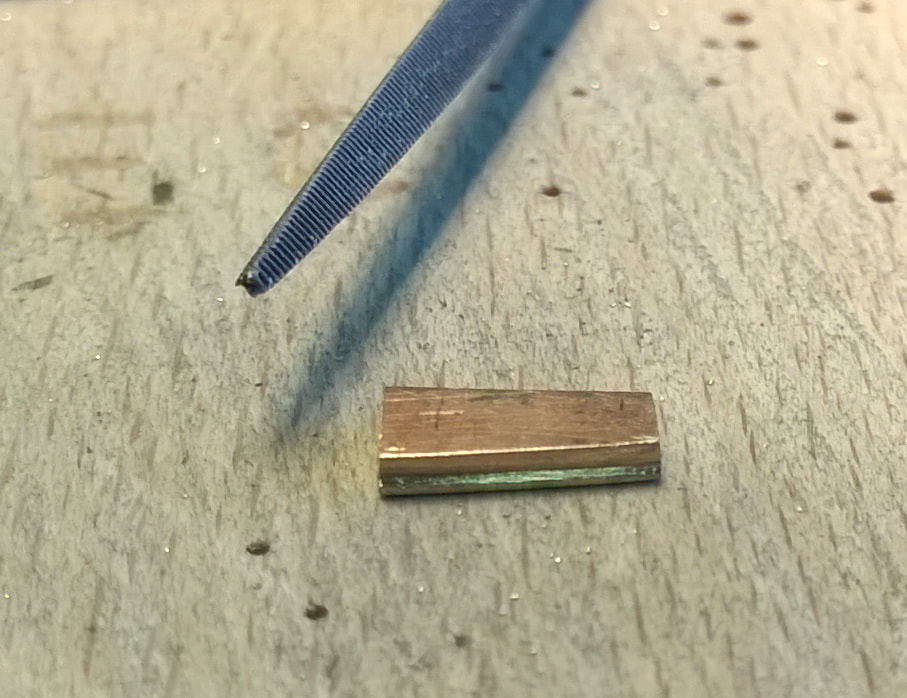
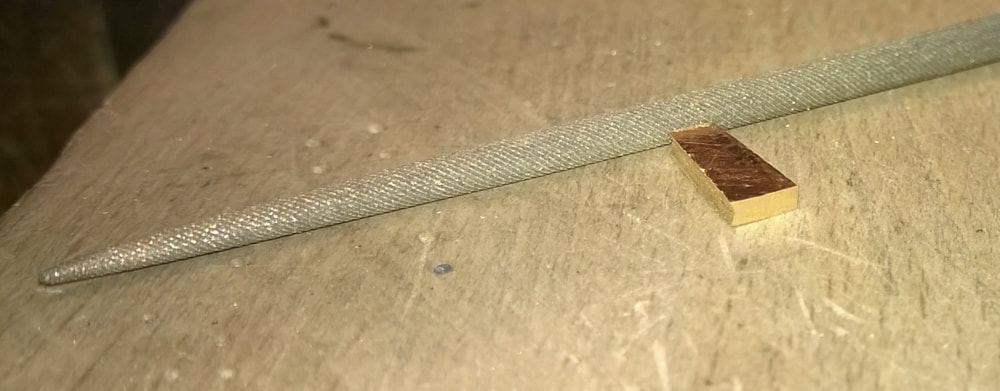
A groove was filed in the sloping edge, first with a saw blade and three square file, then with a round needle file.
|
|
|
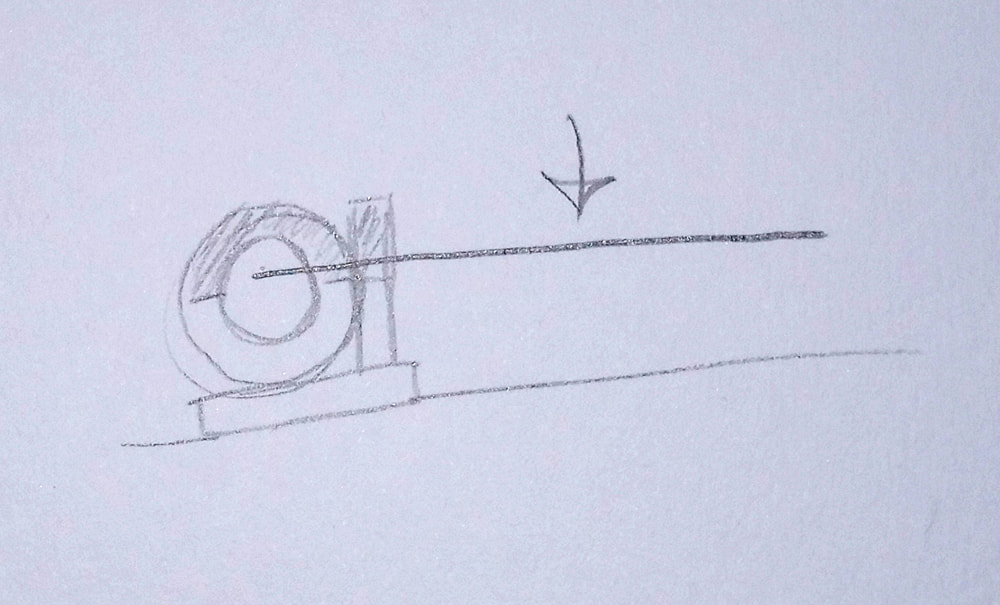
We then cut some 0.8mm inner diameter tube to the length of the top edge plus 1mm or so extra.
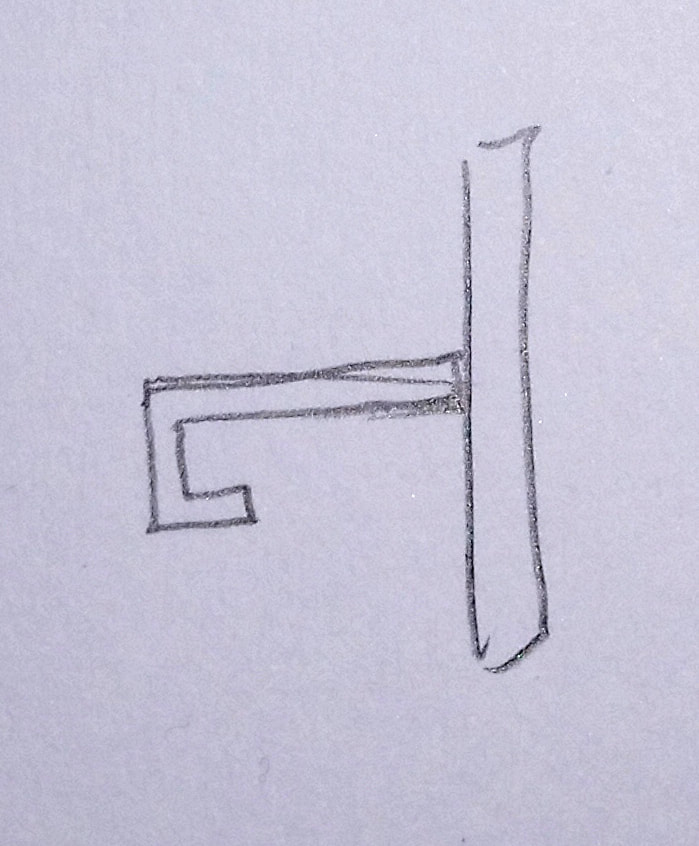
From the 1.6mm sheet, we also cut out a simple hook shape. The underside of the hook needs to line up with the top most centre of the tube.
From the 1.6mm sheet, we also cut out a simple hook shape. The underside of the hook needs to line up with the top most centre of the tube.
|
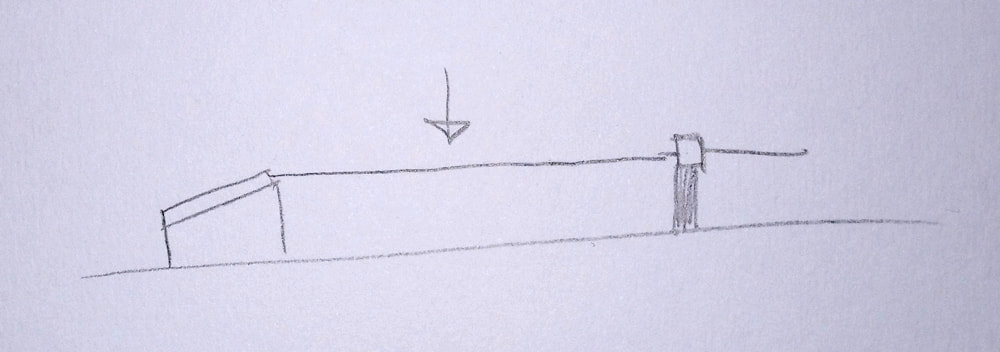
The parts could then be soldered onto the main body of the brooch, in this case a simple rectangular piece of sheet.
The excess length of tube should overhang the LOWER end of the sloping bracket and the hook should be positioned so that gravity keeps it fastened. |
|
|
|
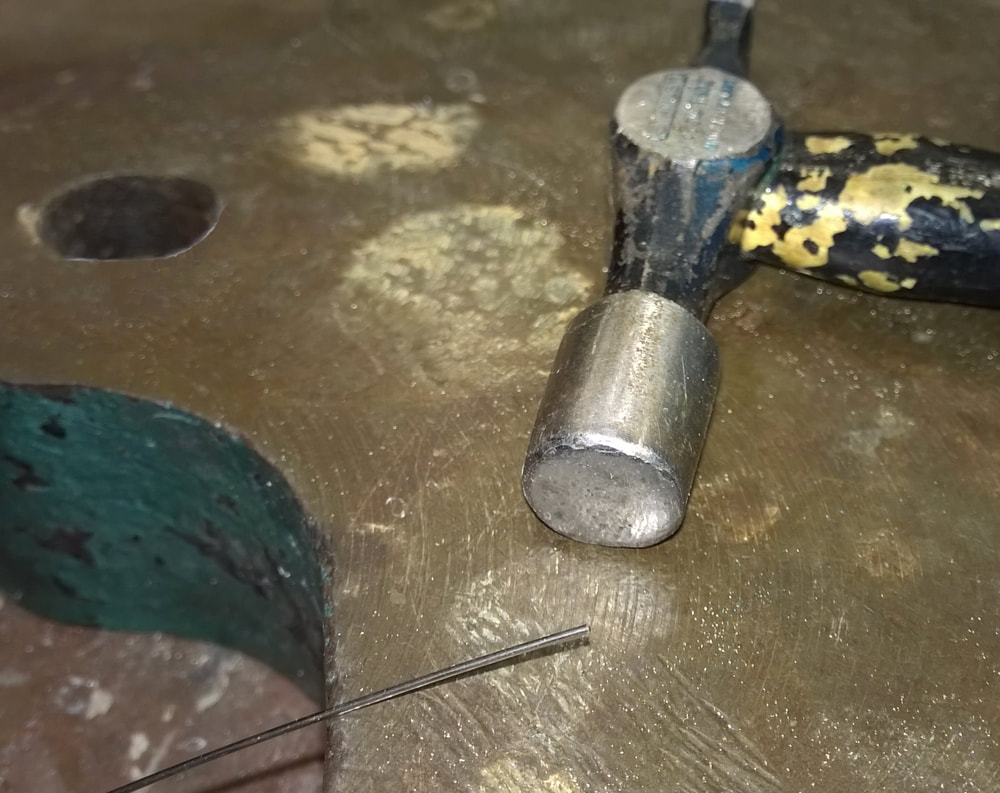
The pin was formed from a suitable length of 0.8mm steel wire. One end was hammered flat to widen it, and the other was filed & polished. To a bullet shaped point.
|
|
|
The pin was fed through the tube until the flattened end became wedged in place. The tube overhang was then burnished over the pin to secure it.
|
|