Heather Coleman Jewellery
  • Home
  • Shop by collection
    • "Lulu" flowers
    • "Lulu" leaves
    • "Hedera" ivy
    • "Rosa" rose
    • "Quercus" oak
    • "Anjo" engraved
    • "Nova" embossed
    • "Madison" gothic
    • "Hylle" medieval initials
    • One of a kind pieces
  • Shop by type
    • Necklaces
    • Earrings
    • Rings
    • Bracelets
    • Brooches
  • Wedding Rings
  • About
    • About me
    • Awards & Exhibitions
    • Testimonials
    • Services
    • Contact
  • Gallery
    • Gallery
    • "Masquerade" Hare
    • Videos
  • More
    • Newsletter
    • Terms & Conditions

Bar Brooch

23/10/2017

 
On Friday we made a bezel setting for a glass cabochon.
Using tube left over from the hinged ring, we soldered short tube rivets onto the back of the bezel.

Today we're going to make the plain bar brooch back that the cabochon setting will be riveted to.
Picture
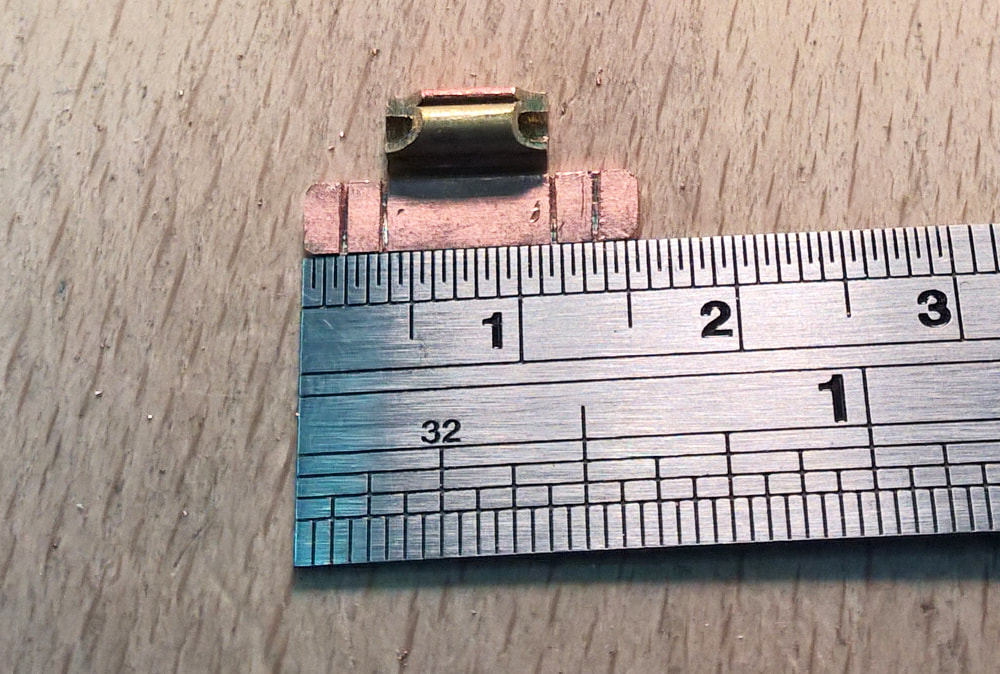
First (and most fiddly) is the "hinge" part of the brooch findings.
This was made from another short length of tube, soldered into a small piece of sheet that had been scored and bent into a right angle.
The top ends of this assembly were then filed off into a curve, to form a ledge for the pin to rest on.

The catch part of the findings was again made from scored and bent sheet, forming an open C shape.
Picture
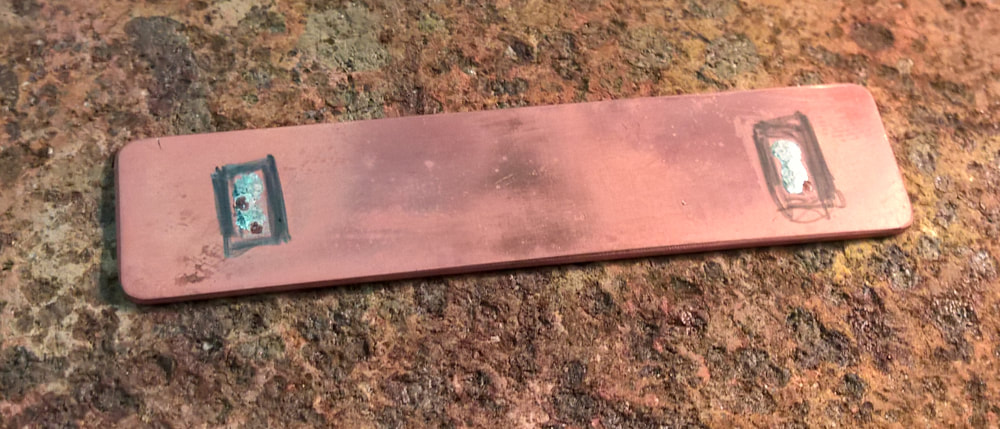
Being a clever dick, I thought I'd sweat solder the findings onto the brooch back.  The idea being that no solder would be visible around the findings and less clean up would be required.

In practice it took a long time and a lot of heat to make the solder flow the second time.
Picture
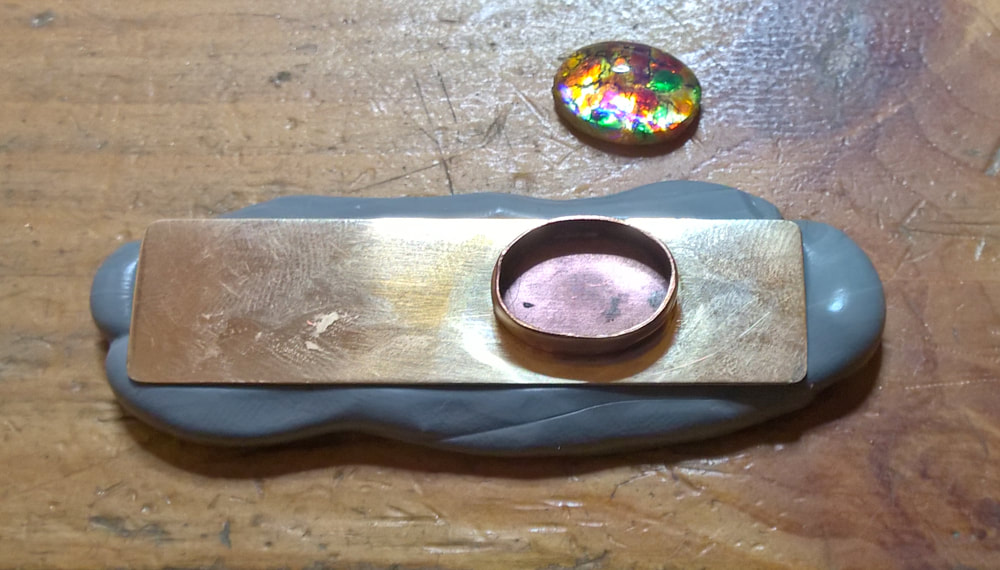
Holes were drilled to correspond with the positions of the rivets on the setting.
The rivets were pushed through the holes, cut down to the minimum protruding length possible and riveted into place with small dapping punches.

I then got to use my new favourite stuff, Thermo-loc.  Softened in hot water, it can be used to secure a piece for work that needs extra support or clamping.  In this case, setting the cab.
The brass was really tough to push over the cab and I didn't manage to stop it rattling slightly :-(

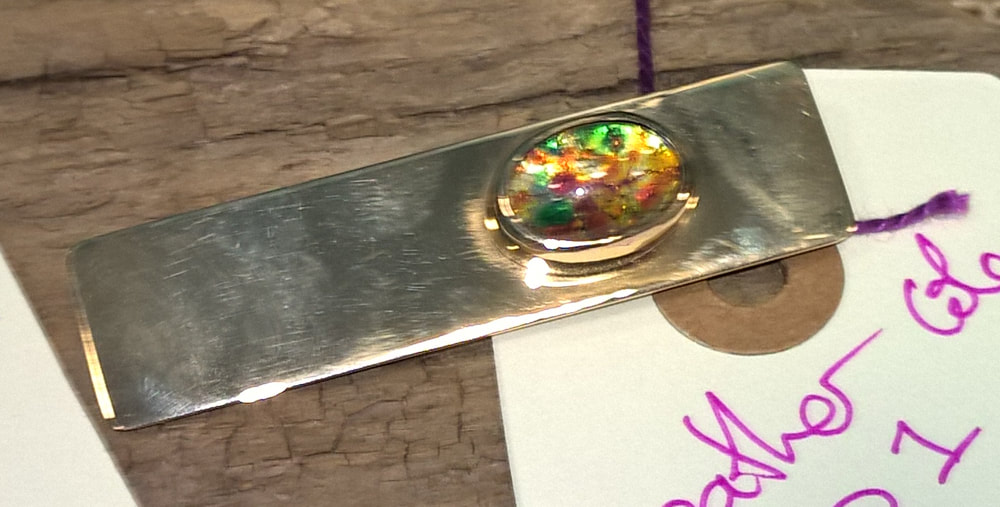
After polishing, nickel wire was used to make the pin.

Here is a (bad) photo of the finished brooch on submission day.
Picture

Picture
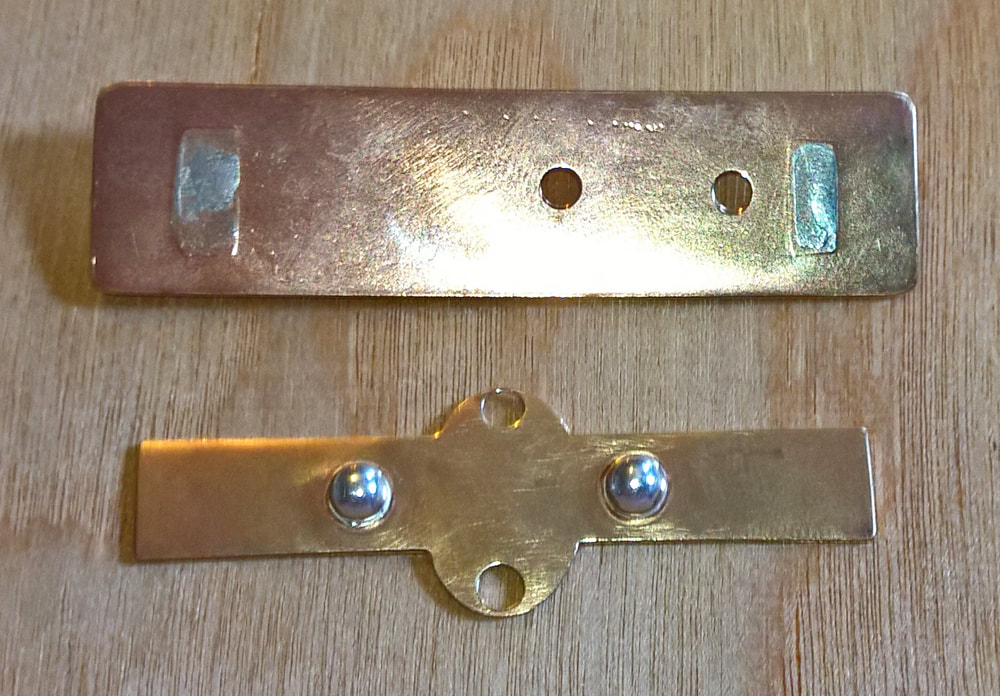
Confession:
I rejected 2 backs during the making of this brooch.
The first (top) was damaged by the pendant drill as I was polishing.  And the second (bottom) ended up with the rivet holes far too close to the edges of the fancy shape.
Both rejects also had silver ball decorations which I decided were not worth the extra effort of trying to buff/polish round them.


Comments are closed.
    Go to First Post

    Contents

    Blogging
    Basic Rings
    Piercing

    Index

    All
    Basic Rings
    Blogging
    Piercing

    Archives

    November 2017
    October 2017
    September 2017

Shop

"Lulu" flowers
"Lulu" leaves
"Hedera" ivy
"Rosa" rose
"Quercus" oak
"Anjo" engraved
"Nova" embossed
"Madison" gothic
"Hylle" medieval initials
One of a kind pieces

Necklaces
Earrings
Rings
Bracelets
Brooches

Wedding rings

Gallery

Gallery
"Masquerade" Hare
Videos
 

More

Hallmarking
Terms & Conditions

ABOUT

News
About
Awards & Exhibitions
Testimonials

CONTACT

Services
Contact

Picture
© COPYRIGHT 2021
ALL RIGHTS RESERVED

  • Home
  • Shop by collection
    • "Lulu" flowers
    • "Lulu" leaves
    • "Hedera" ivy
    • "Rosa" rose
    • "Quercus" oak
    • "Anjo" engraved
    • "Nova" embossed
    • "Madison" gothic
    • "Hylle" medieval initials
    • One of a kind pieces
  • Shop by type
    • Necklaces
    • Earrings
    • Rings
    • Bracelets
    • Brooches
  • Wedding Rings
  • About
    • About me
    • Awards & Exhibitions
    • Testimonials
    • Services
    • Contact
  • Gallery
    • Gallery
    • "Masquerade" Hare
    • Videos
  • More
    • Newsletter
    • Terms & Conditions