Fine Jewellery Techniques (JEW4035)
17/05/2018 - Final Assembly
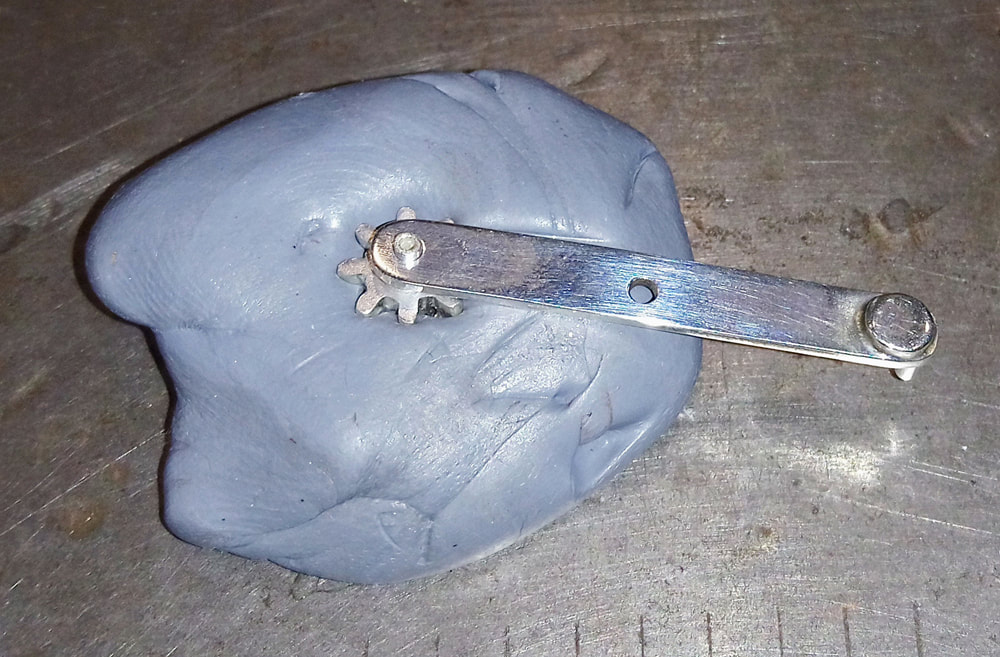
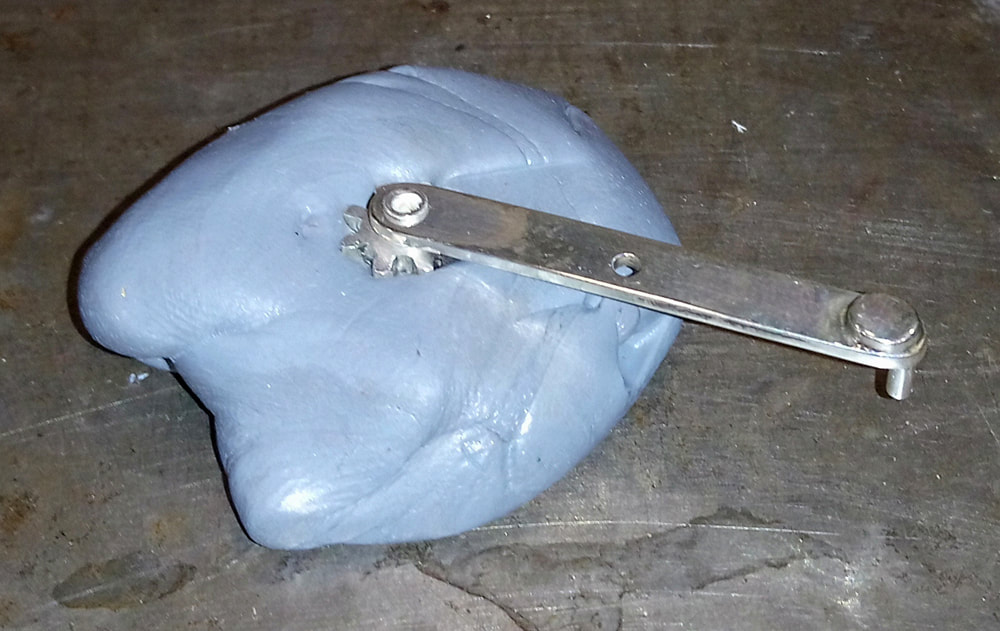
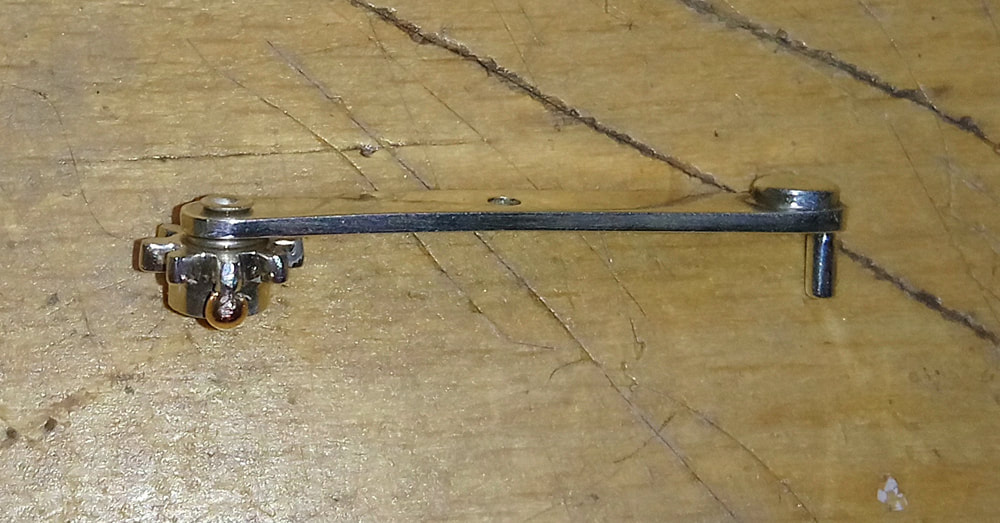
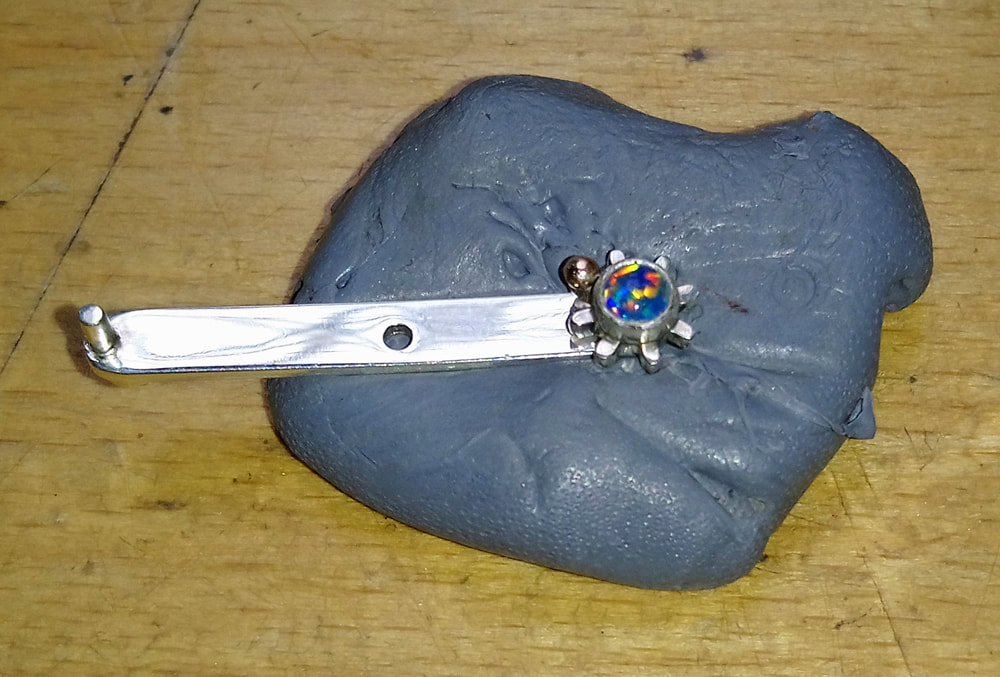
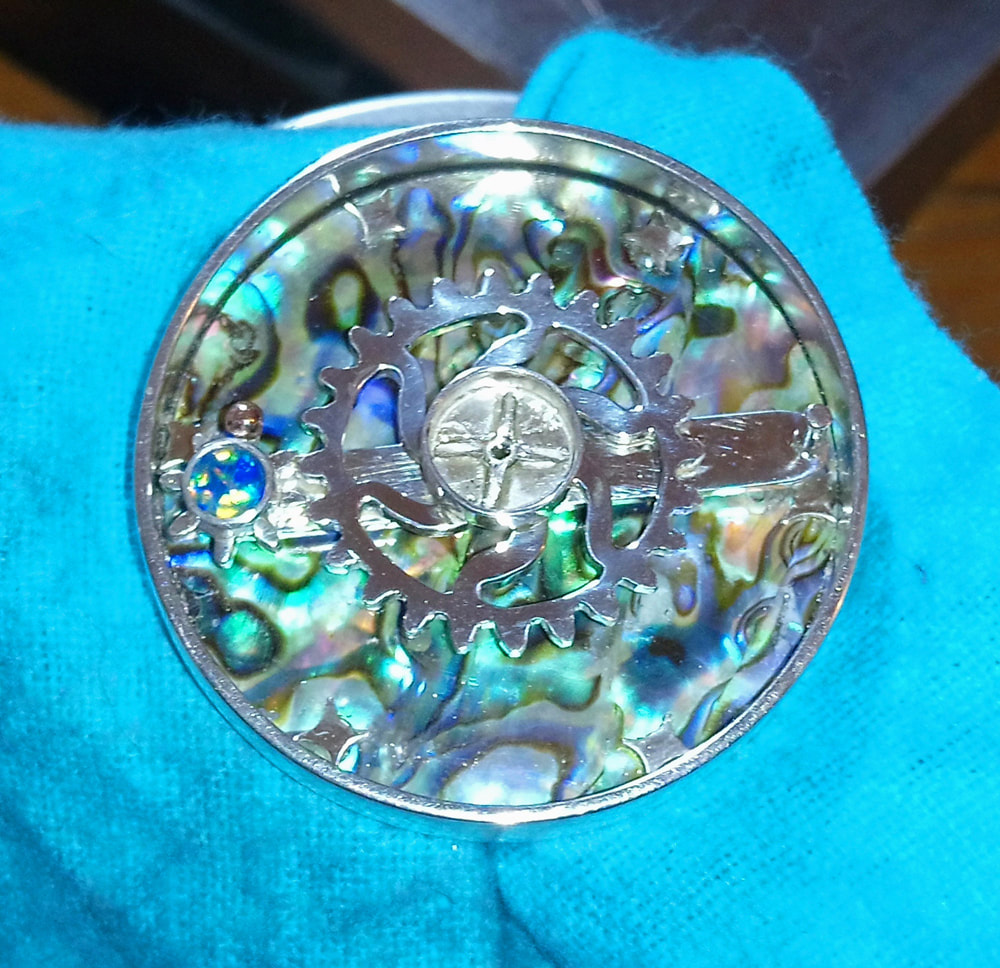
First task is to rivet the small cog to the arm and set the "earth" opal. Easy.
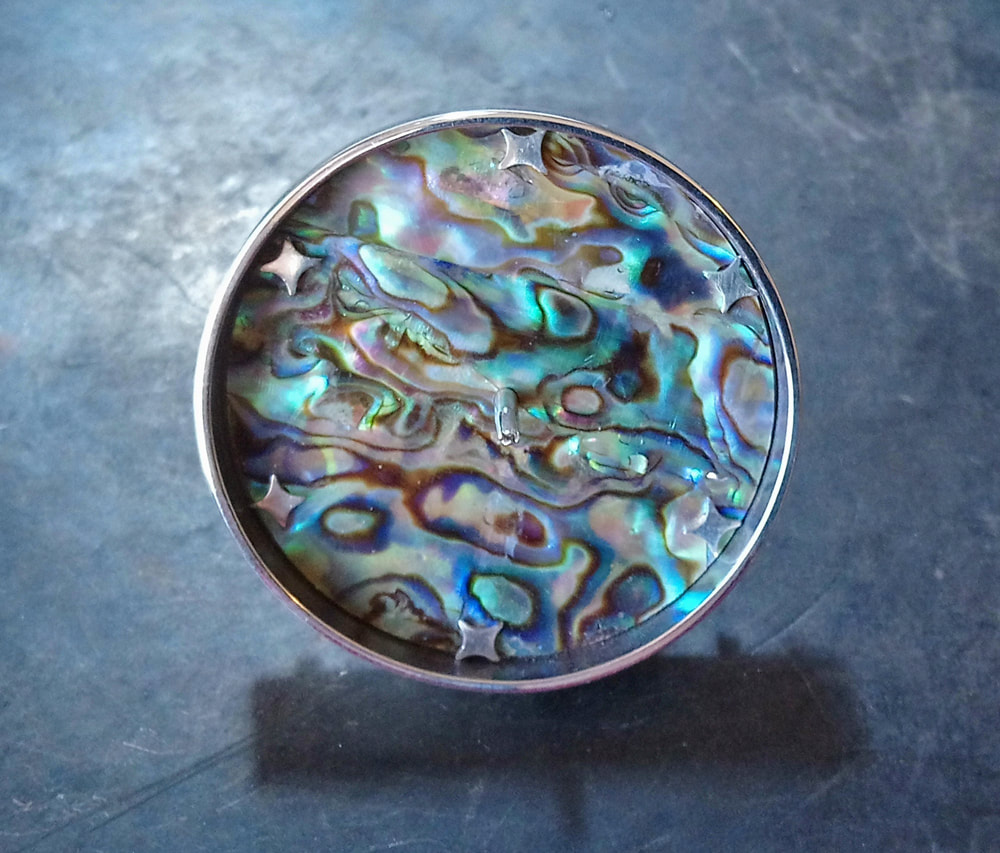
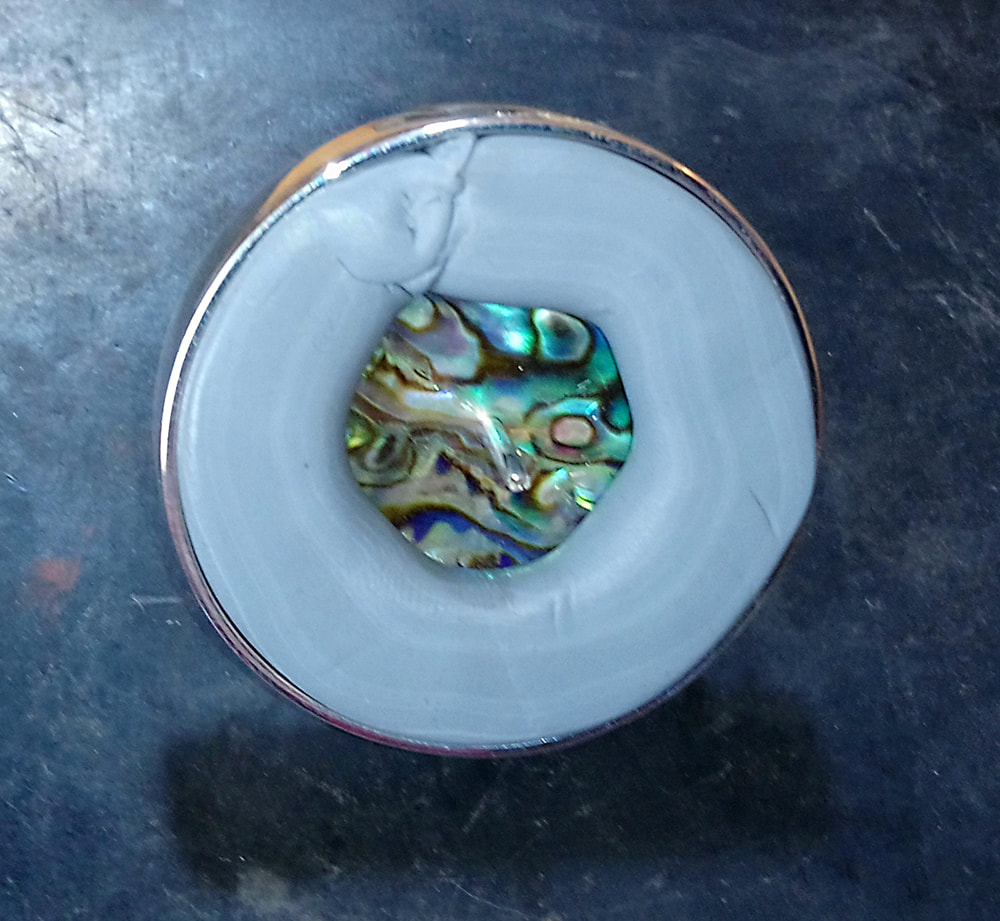
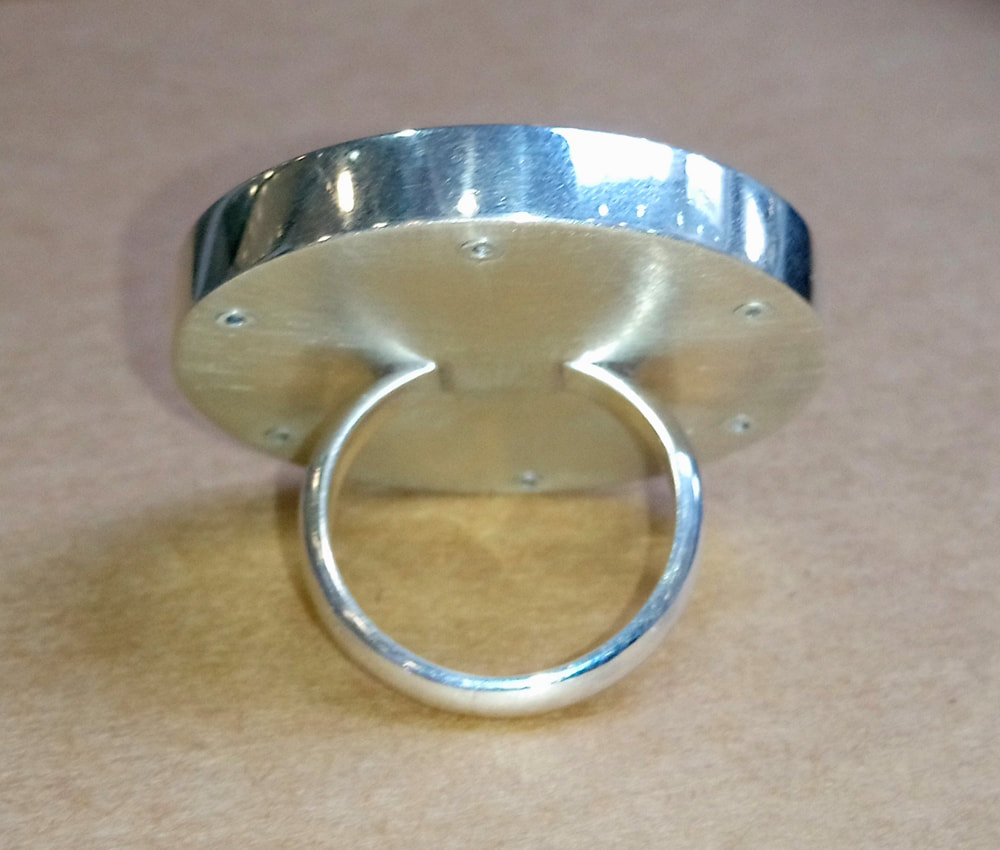
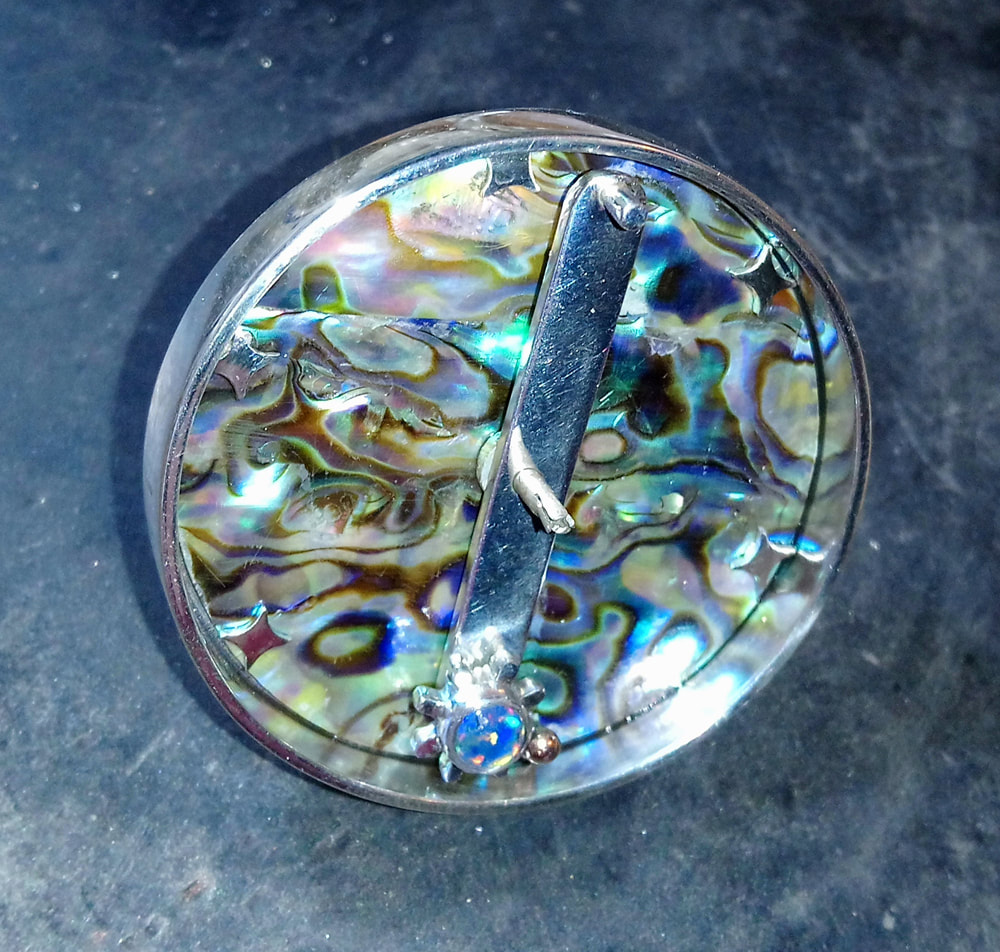
Now to rivet the abalone background into the bottom of the "cup". Not so easy. I had to fill the inside up with Thermo-loc so I had something to rivet against.
Having got the cup back nicely polished, I was gutted to bash it up when riveting :-(
I was late evening at this point so I knew I didn't have time to tidy it up.
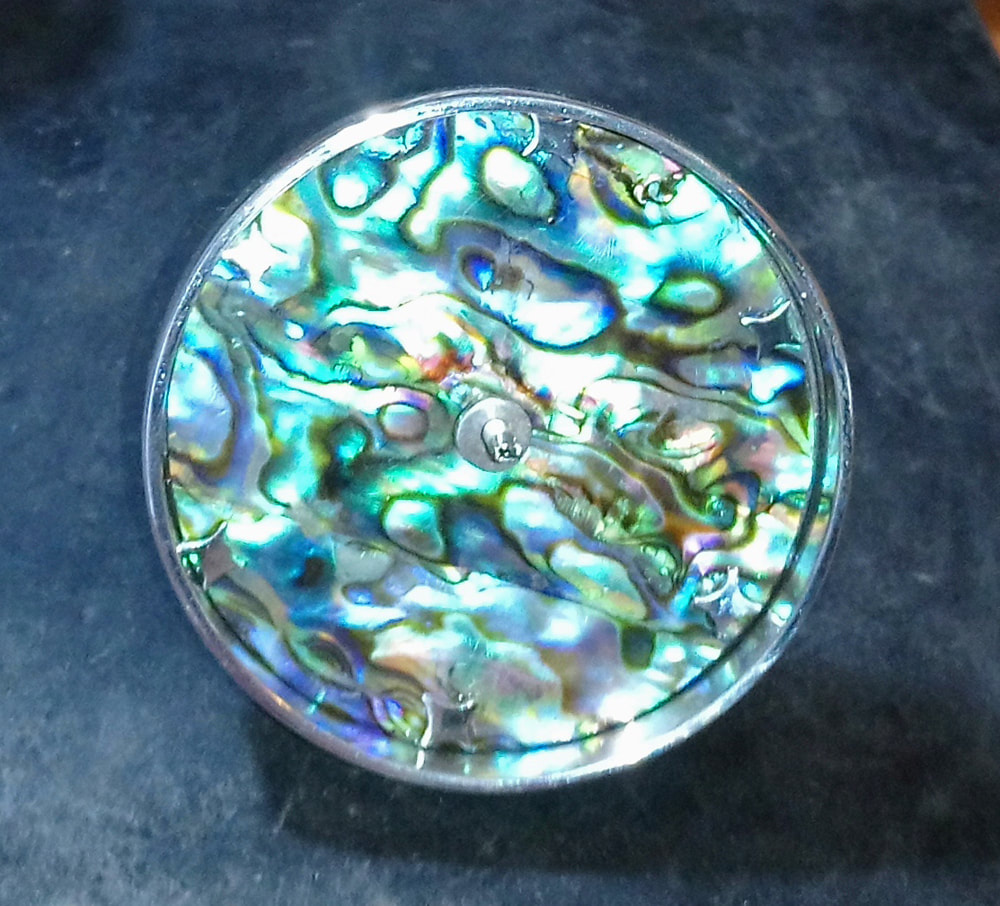
I had to admit defeat and give it a matt/satin finish with a Scotch-brite and pads. Such a shame.
I was late evening at this point so I knew I didn't have time to tidy it up.
I had to admit defeat and give it a matt/satin finish with a Scotch-brite and pads. Such a shame.
The components could all now be fed onto the central tube and I could finally see if my cunning "petal" plan was going to work (after 4 hours of trying to get the cogs turning smoothly).
My main worry was that one or more of the petals would break off as I flared them out, but luckily they all remained intact.
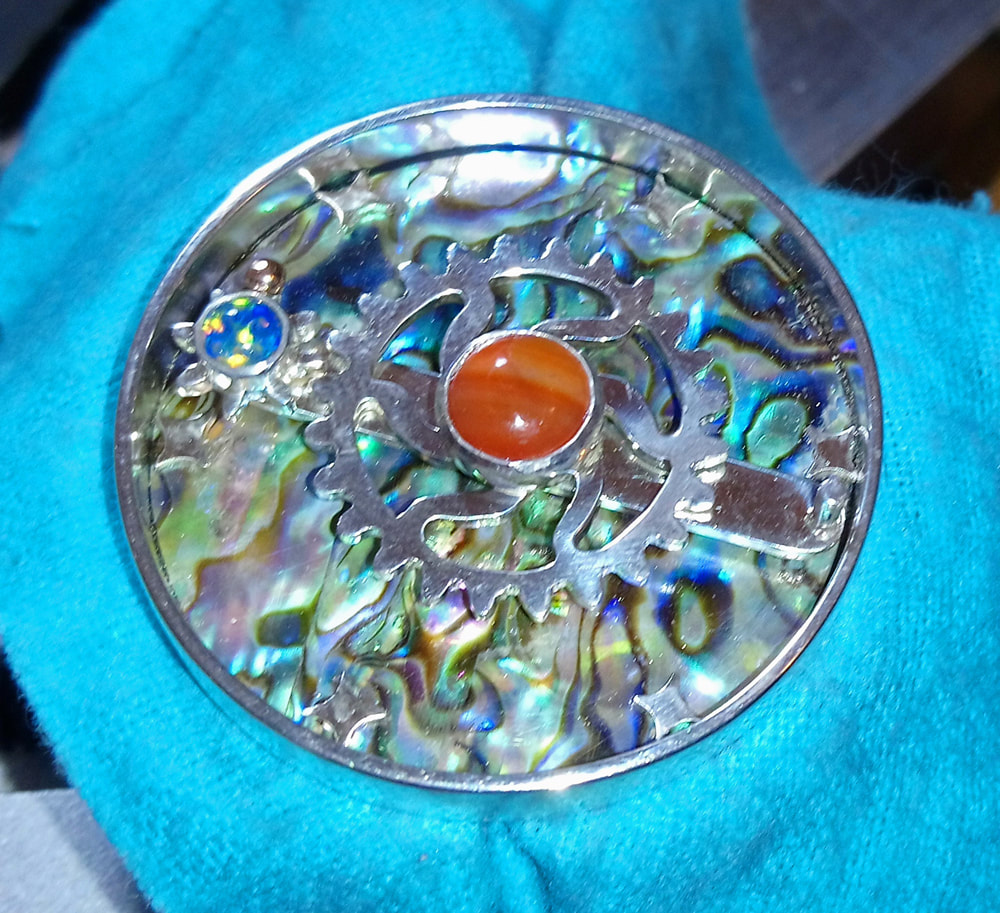
I had to use my Foredom hammer handpiece to really force the petals into the grooves, and the cog stopped turning.
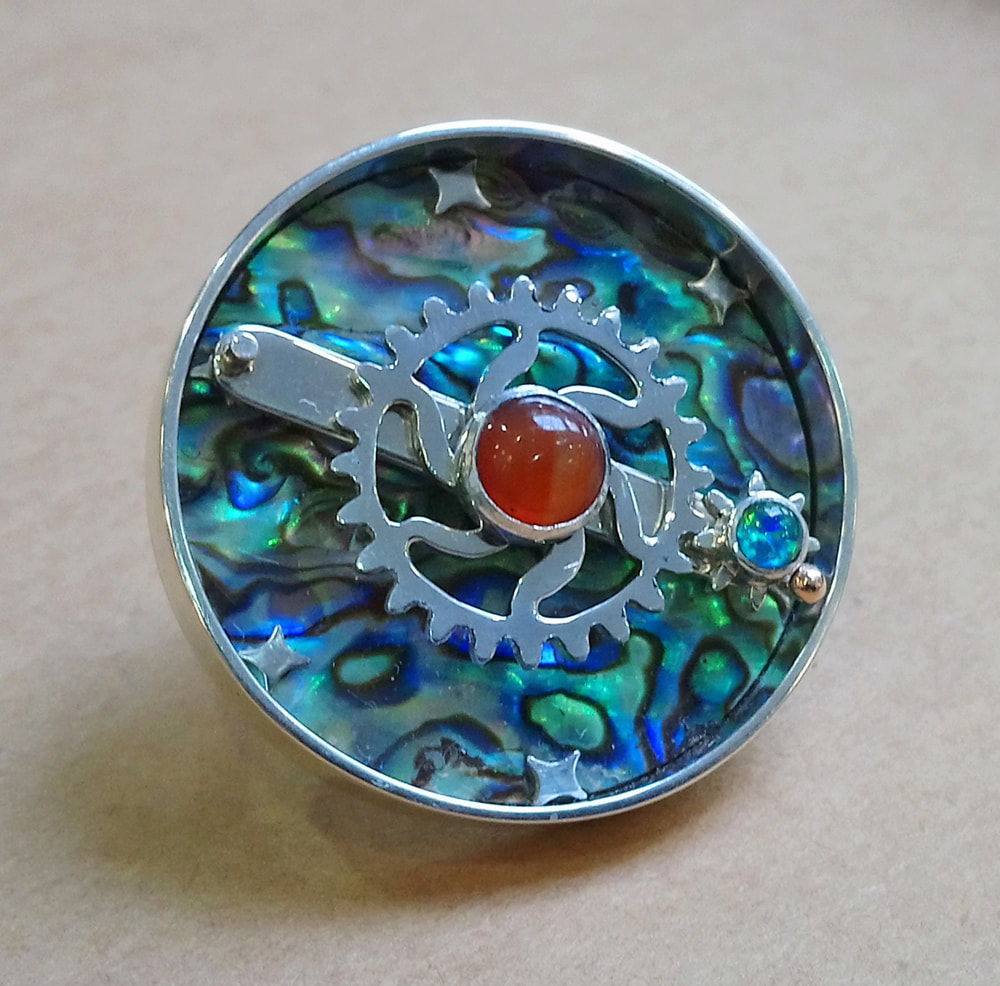
I set the "sun" carnelian and went to bed, happy that at least it looks awesome, even if it doesn't really work. 1:30am.
The next morning as I'm putting my submission box together, the cogs seem to be turning better than I remembered. Maybe it was the lack of sleep. The underside of the arm catches on the rivets, but I think I can fix that at a later date by buffing.

