
21/10/2018 - Final CAD Design - Stone Settings
So, just to add more stress to this whole project, we have to document our entire CAD process for the final cocktail ring.
Because it's such a massive task, I can only really write short notes rather than detailed prose instructions.
Anyway, here we go, my first session on the final design was whilst manning my stall at a craft fair. Very glad I decided to buy Rhino for my laptop.
Because it's such a massive task, I can only really write short notes rather than detailed prose instructions.
Anyway, here we go, my first session on the final design was whilst manning my stall at a craft fair. Very glad I decided to buy Rhino for my laptop.
|
|
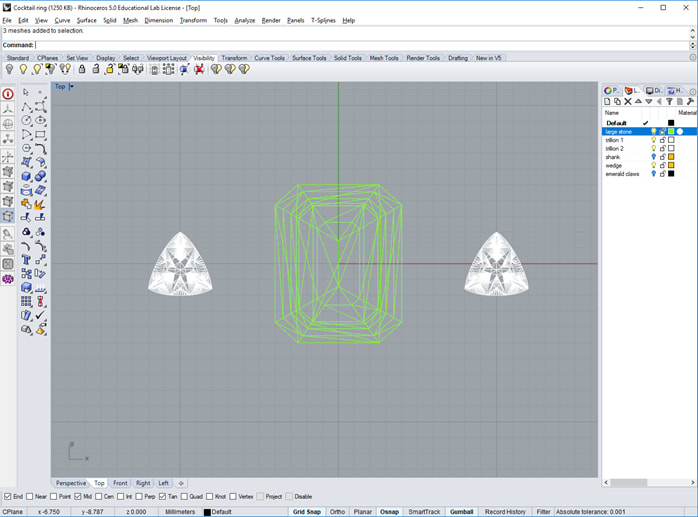
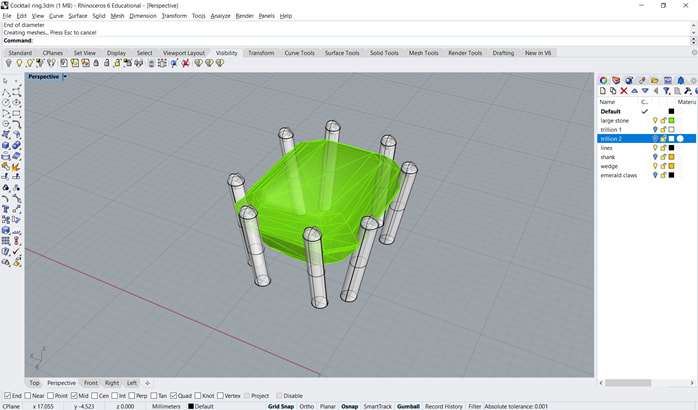
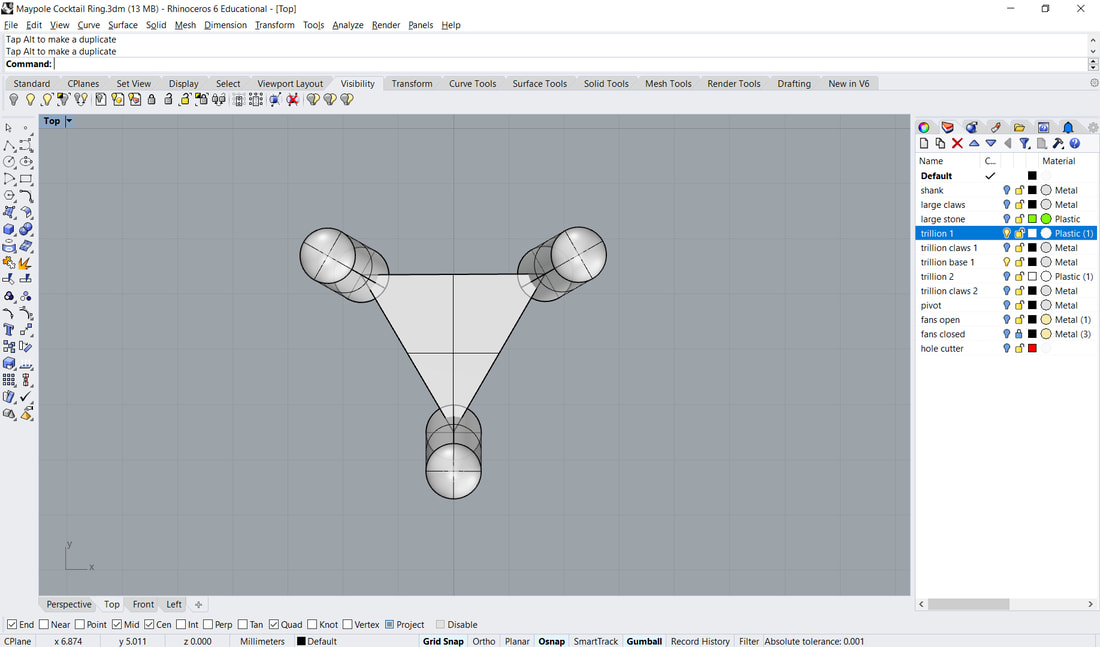
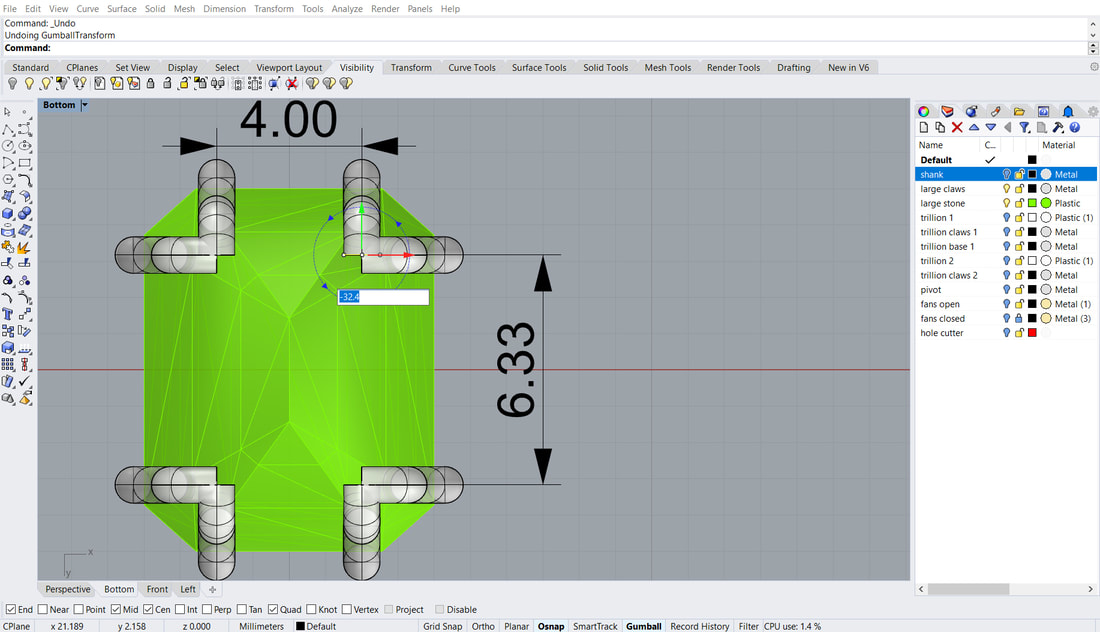
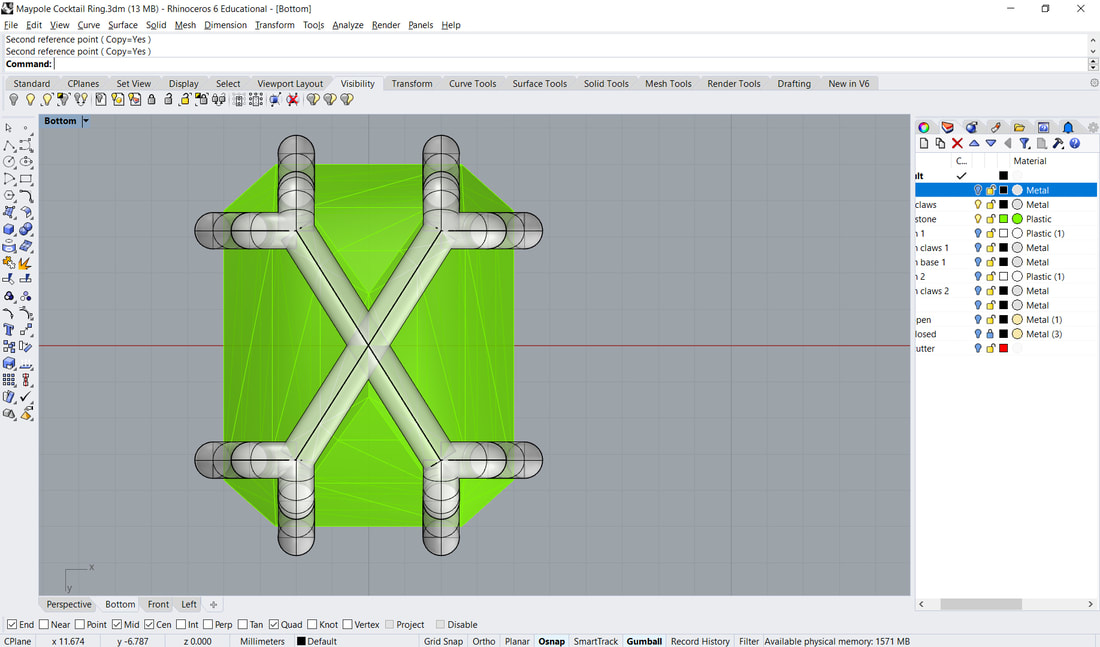
Emerald cut stone = 10x8mm, 6mm depth
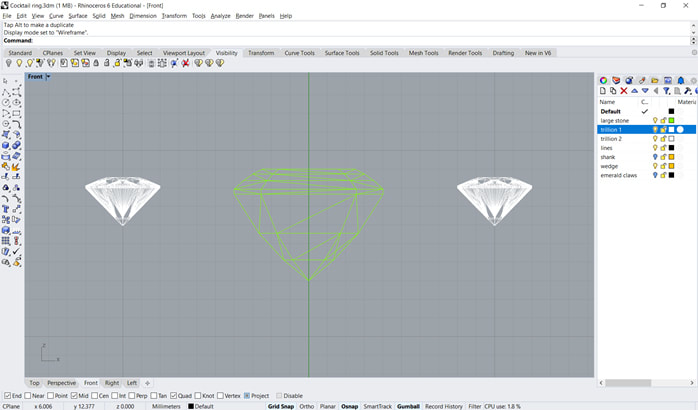
Trillion cut stones = 4mm, 2.6mm depth
Trillion cut stones = 4mm, 2.6mm depth

|

|
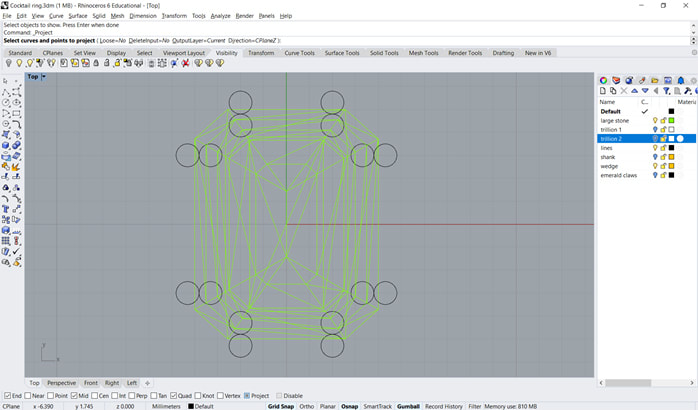
1mm claw cross-section, 0.2mm circle inside to position claw
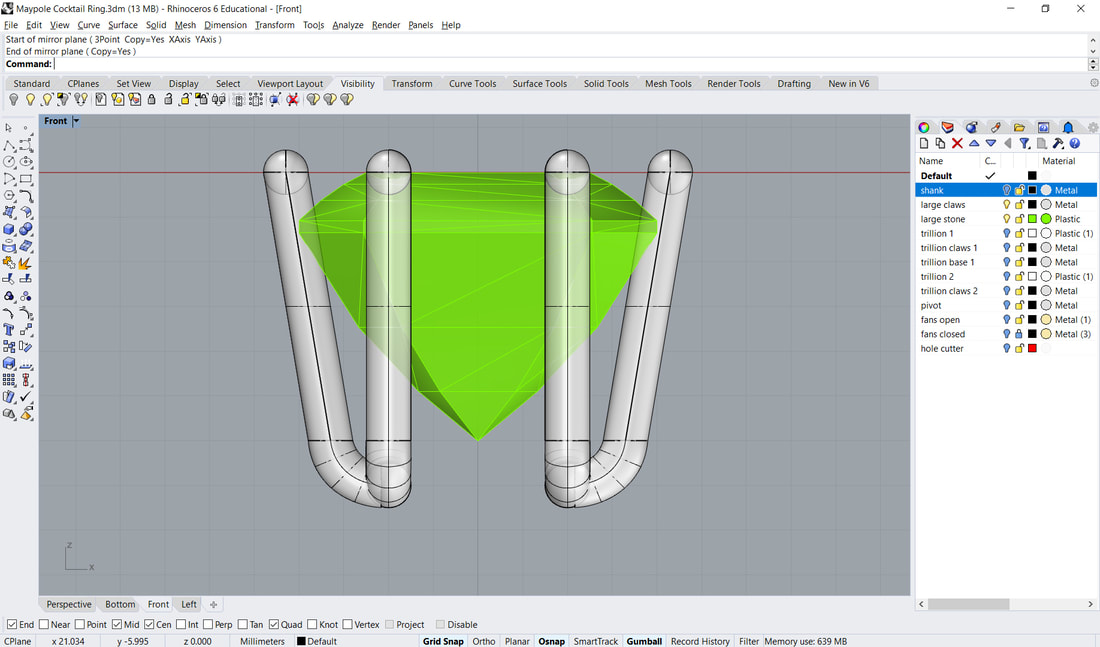
Use "mirror" command to copy round stone
Use "mirror" command to copy round stone
|
|
Another 8 circles, 1mm inside
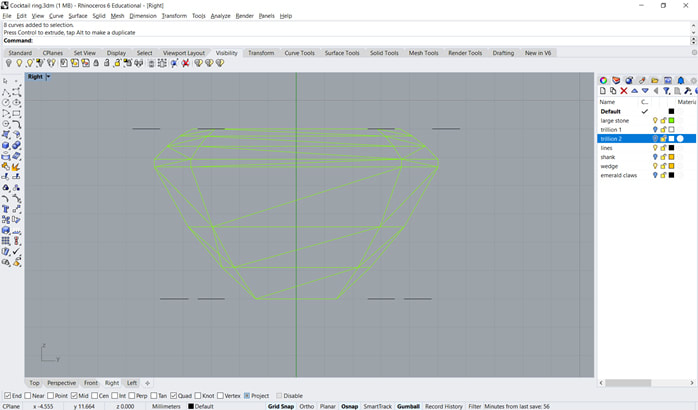
Side view, move inner circles down to bottom of stone
Side view, move inner circles down to bottom of stone

|
|
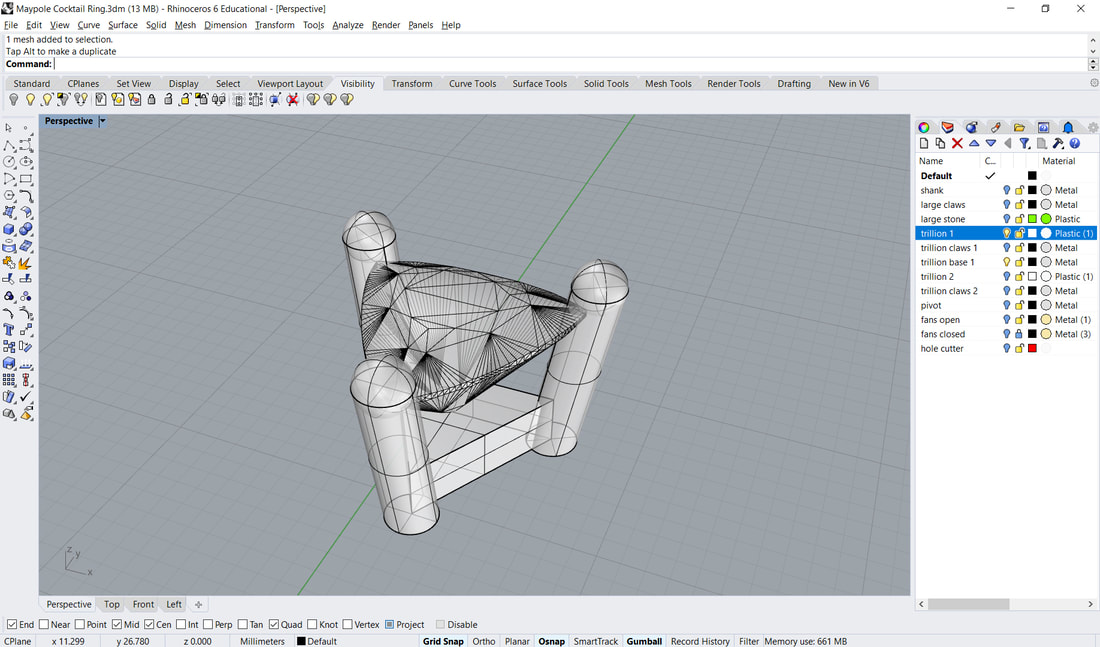
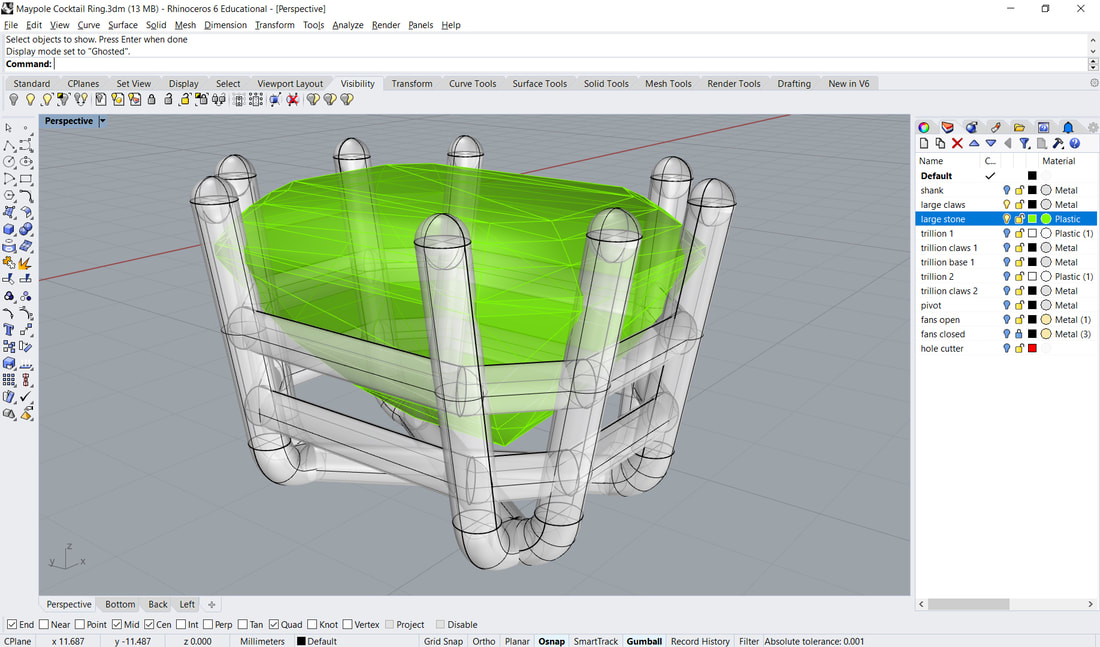
Join top & bottom circles with straight line.
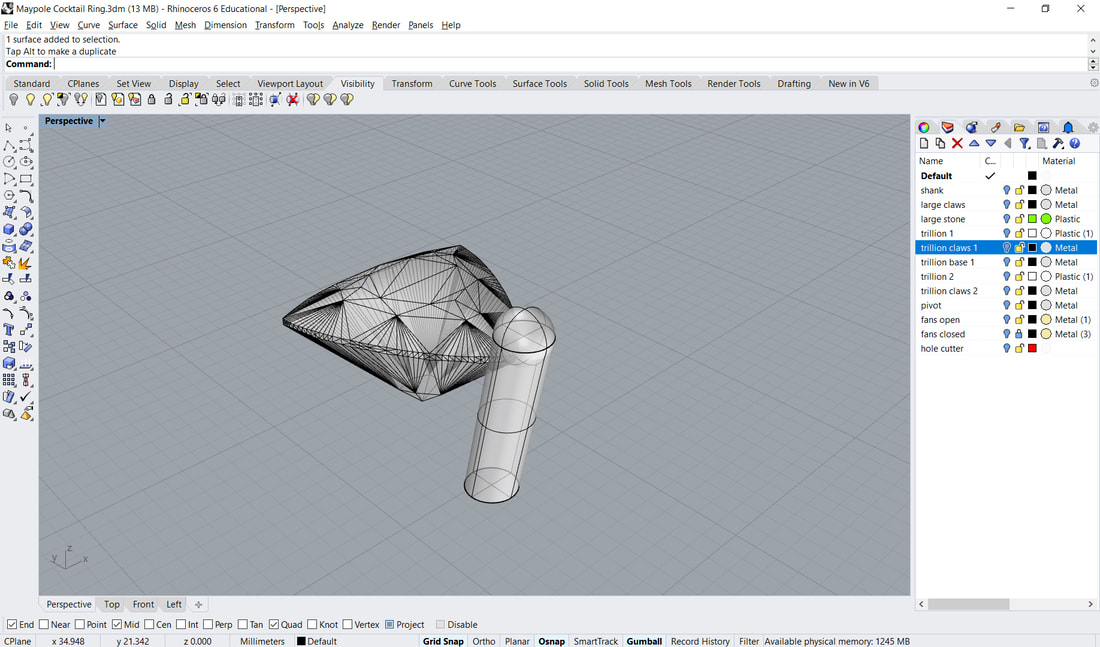
Use "sweep 1 rail" & "cap" to create solid claw. Top with 1mm sphere.
Use "sweep 1 rail" & "cap" to create solid claw. Top with 1mm sphere.
|

|
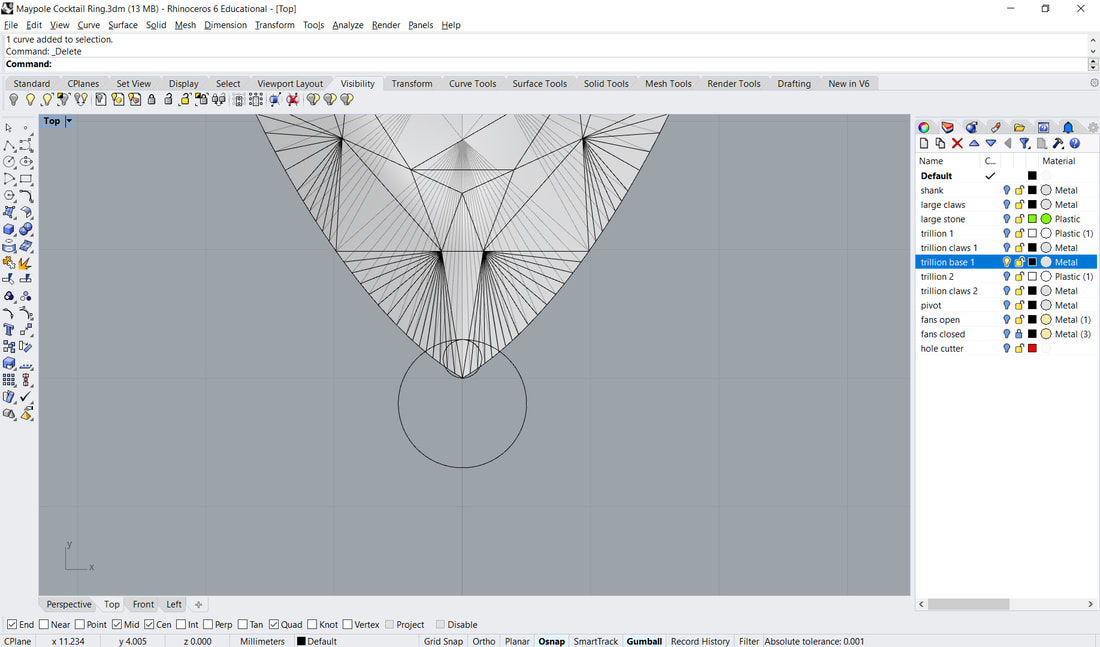
Trillion stone, 1mm claw cross-section, 0.3mm over stone
Bottom circle offset by 0.5mm
Bottom circle offset by 0.5mm
|
|
Move inner circle down to bottom of stone +1mm.
Join top & bottom with straight line.
"sweep 1 rail", "cap" & top with 1mm sphere.
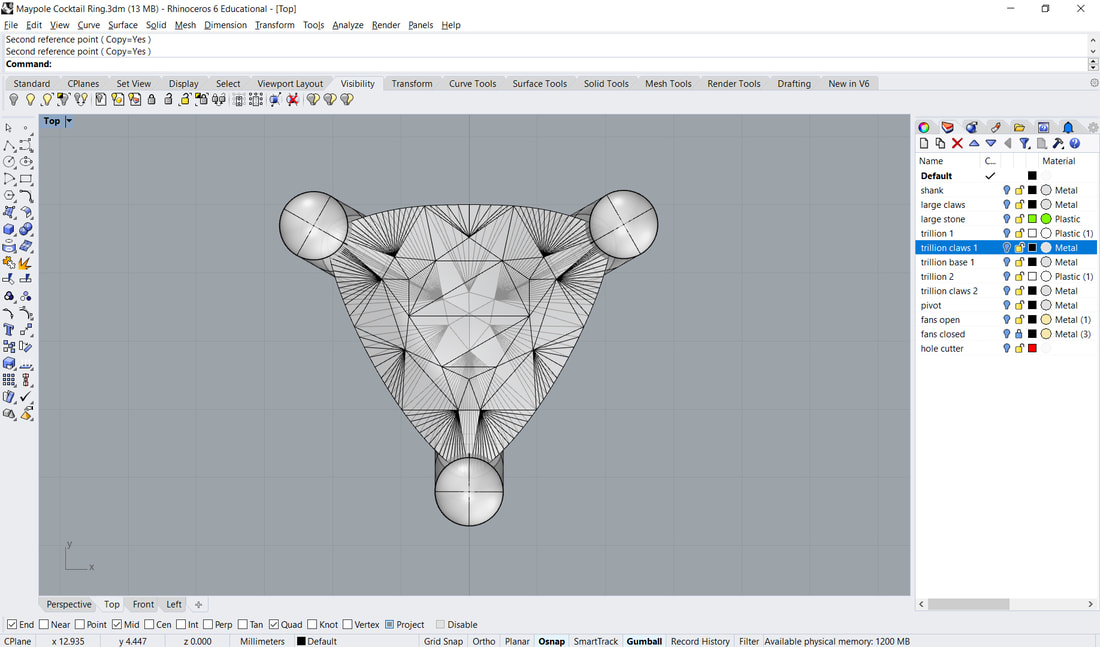
Copy to other 2 corners.
Join top & bottom with straight line.
"sweep 1 rail", "cap" & top with 1mm sphere.
Copy to other 2 corners.
|
|

|
|
|
|
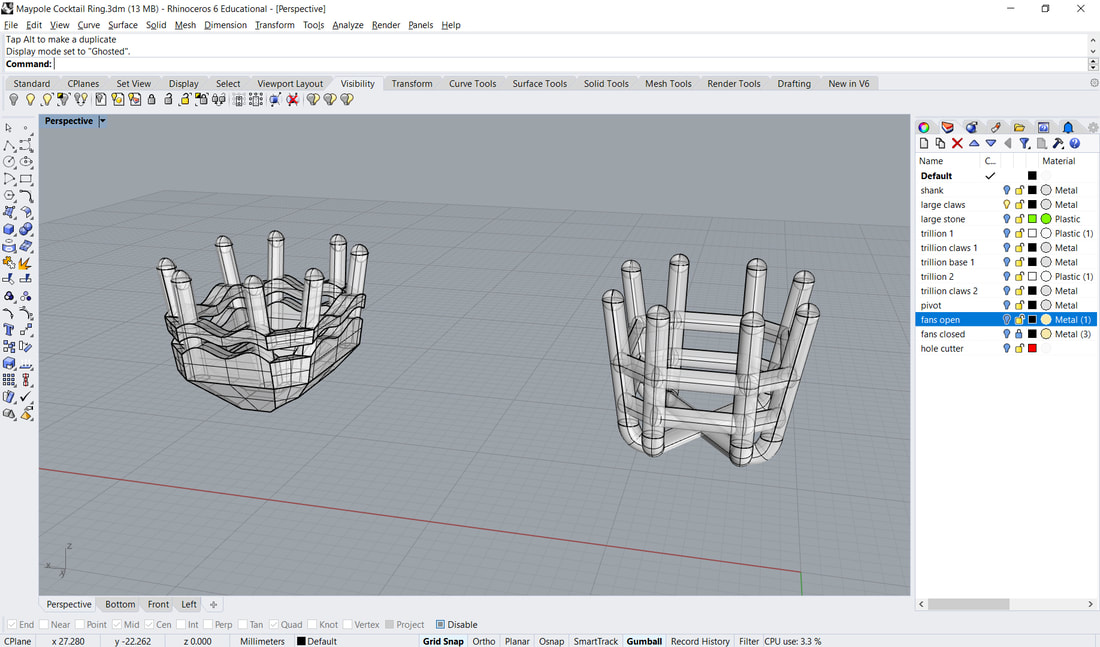
The setting I've described above, was actually mark 2. My first design (below left) was far too solid and heavy, so I re-did it with wire only.
|
This design also went out the window when I found it didn't fit well on the shank.
And so mark 3 (below) was born. 
|