Fine Jewellery Techniques (JEW4035)
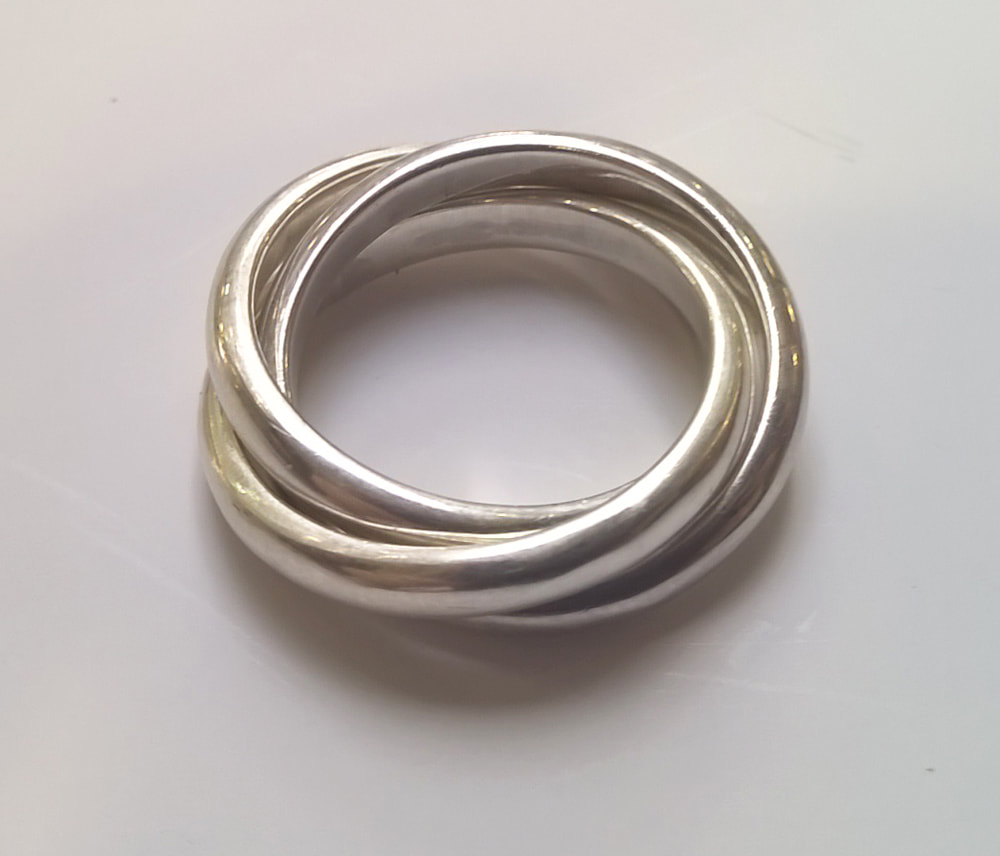
09/02/2018 - Russian Wedding Ring
This blog is an interesting one. I’m not going to pretend that all the techniques we cover are new to me. Not only did we cover the more complex processes in our first term (bezel setting, brooch back, rivets & hinges) but I’ve been making rings for years and have no intention of writing the ins & outs of soldering etc.
Russian wedding rings however, are new to me and I’ve always wanted a three colour one.
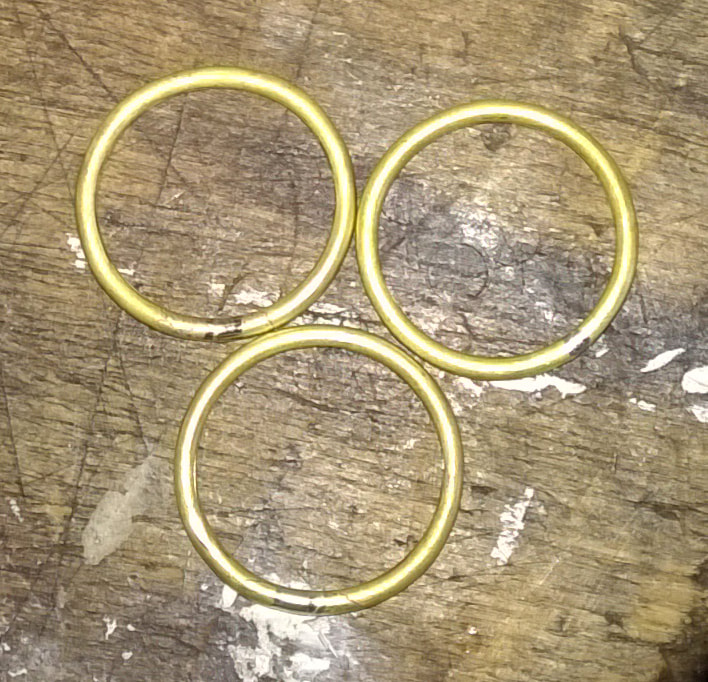
We started by making 3 N-size rings from 3x2mm D-shaped wire. However we then stretched them up to size Q (not sure why, I think Katy wanted to demonstrate the stretcher).
They were all then cleaned up to the pre-polish stage.
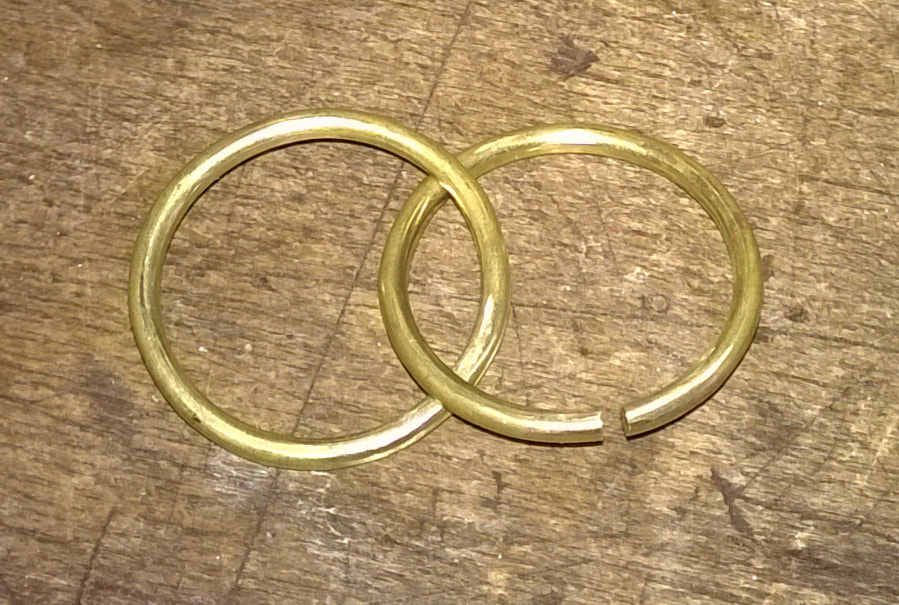
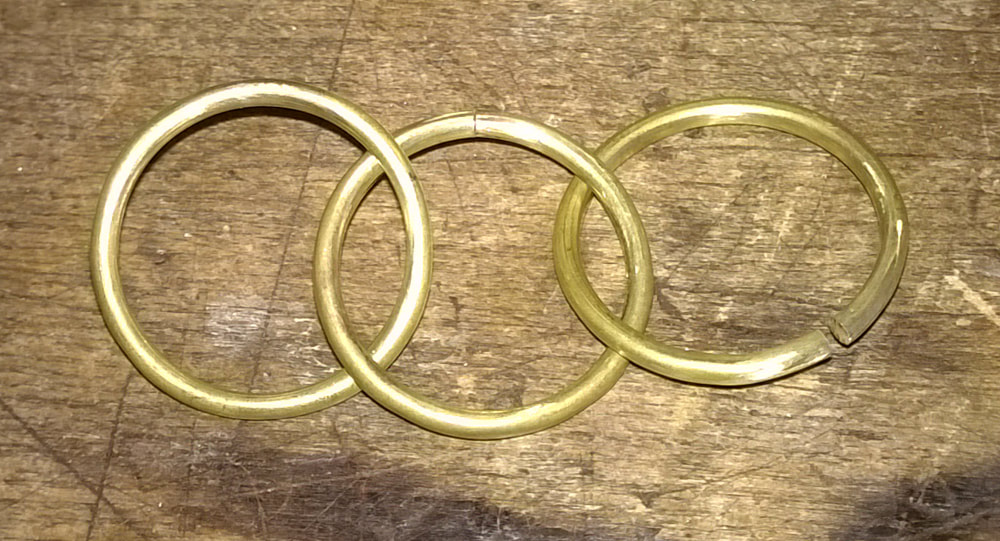
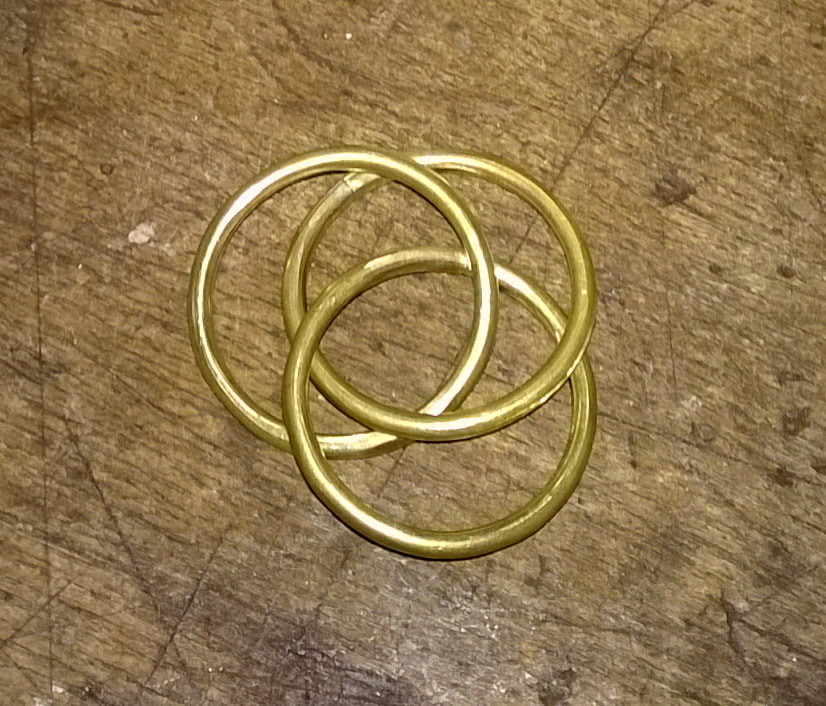
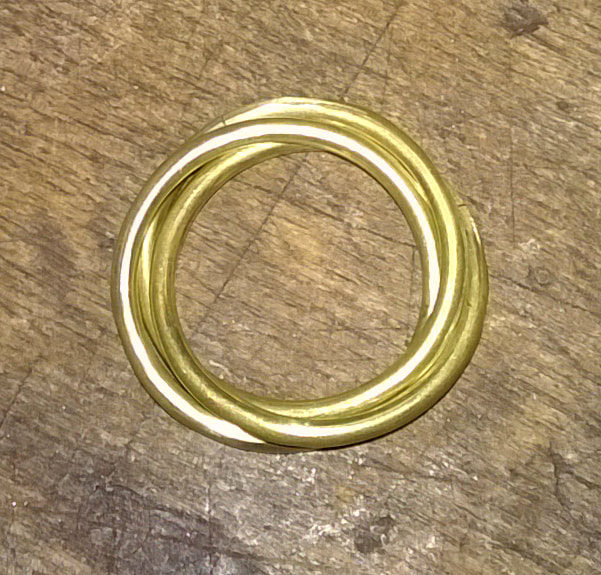
Two of them were then cut through at the solder join. The ends of these two were then pulled apart sideways so the circular shape was not distorted. All three were then linked together and the two cut ones soldered back together. Polishing the assembled ring should have been easy (because each individual ring should have been perfect). However, predictably, my soldering wasn’t terribly neat, so it proved really fiddly.
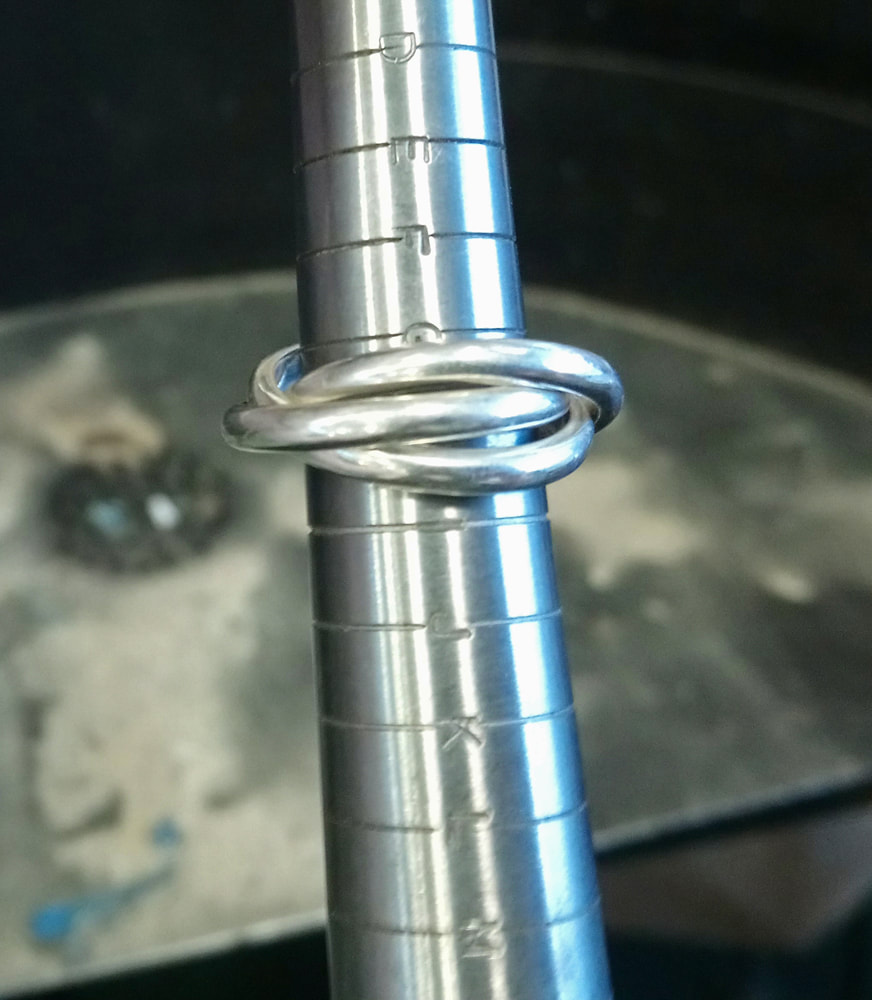
At the end of all this, we were expecting a size M. However mine was more like an H!!!
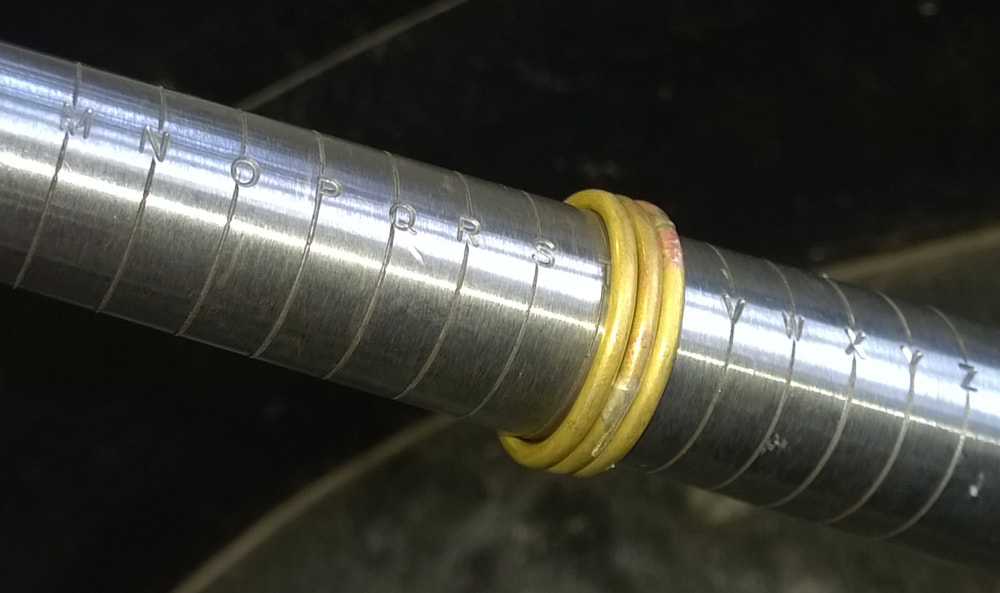
I don’t think anyone's came out at M, so I’m very suspicious of Katy’s formula (rather than 3 or 4 sizes bigger, I think the individual rings need to be more like 5 or 6 sizes bigger).
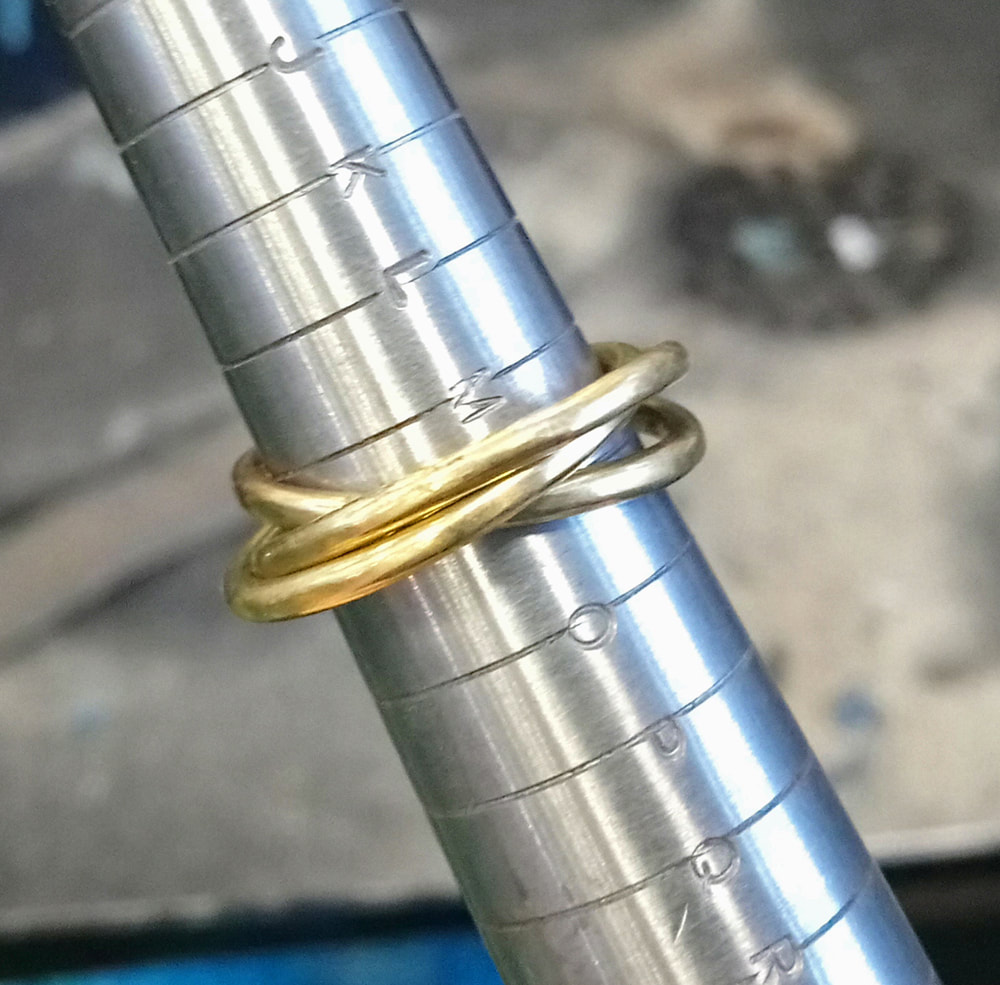
In my excitement, I totally forgot to take any photos. So I made another one from gilding metal. I purposefully did a bigger size, so I could try and get to grips with the sizing issue.
I failed. It's still a mystery.
I failed. It's still a mystery.

