Heather Coleman Jewellery
  • Home
  • Collections
    • Mini collections
    • "Simplicity"
    • "Hedera" ivy - silver
    • "Hedera" ivy - gold
    • "Fauna" animals
    • "Lulu" floral
    • "Electric" anodised
    • "Hylle" medieval initials
    • "Madison" gothic
    • "Rosa" rose
    • "Quercus" oak
  • Unique & Bespoke
    • One of a kind
    • Stacking rings
    • Bespoke
  • Lessons
  • About
    • About me
    • Awards & Exhibitions
    • Testimonials
    • Contact
  • More
    • Gallery
    • "Masquerade" Hare
    • Videos
    • Terms & Conditions

Making Jump Rings, Chain & Tube

13/10/2017

 
Picture
I've had a go at making my own jump rings before, without much success. 
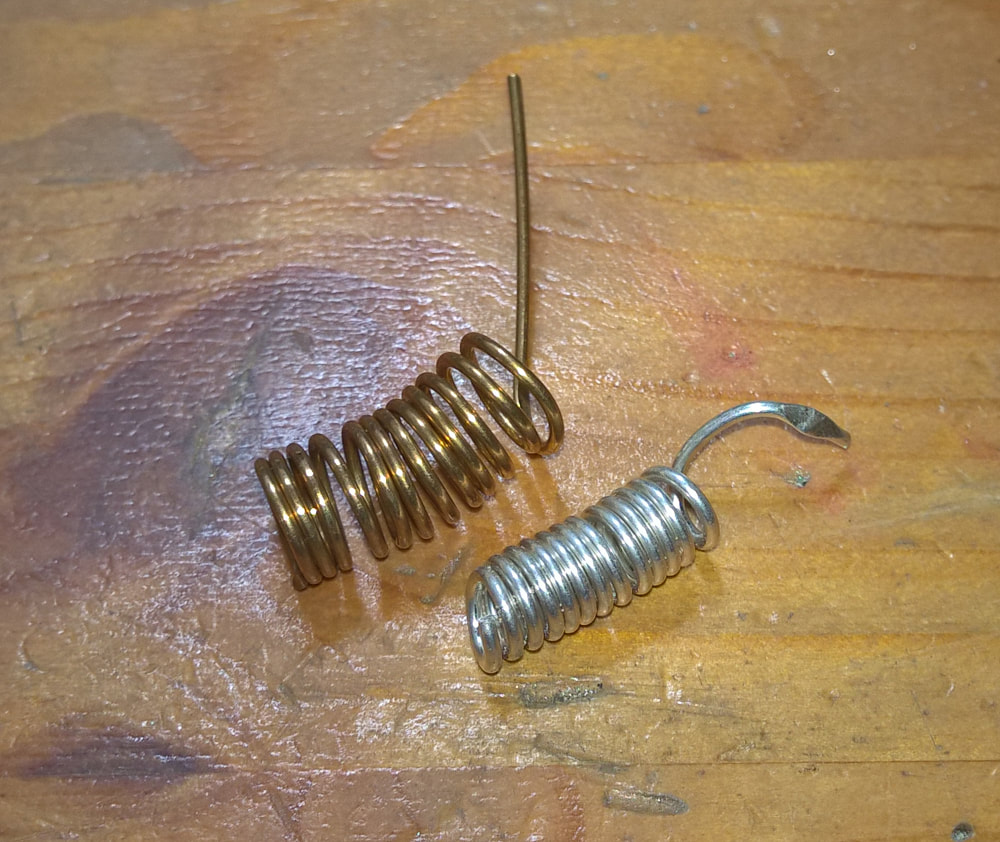
This time was a lot more successful.  We wrapped suitably sized wire around two sizes of steel rod and then wrapped the resulting 'tube' in masking tape to keep them nice and stable. 
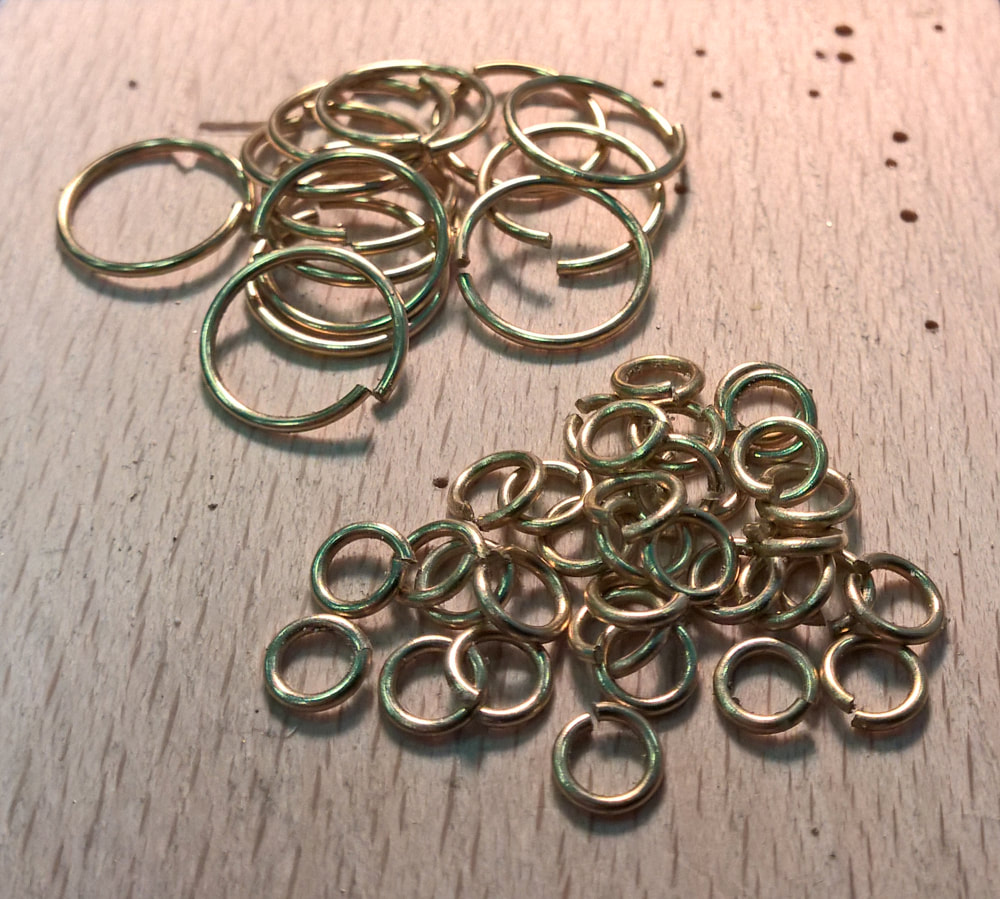
The larger rings could be cut from the outside, but we threaded the smaller rings onto the saw blade so it could be cut from the inside (meaning the opposite side to the cut won't be damaged).
Picture
The trick with this method is to use the tubes flexibility against it! 
With the tube of rings secured in the V of the bench peg, and the saw in my right hand, I held the topmost ring with my left hand.  I angled the cutting motion as diagonally as I could, so that the top ring was cut through first.  As it became free it was pulled backwards away from the rest of the tube, allowing the next ring to be cut. 
This method meant that only the required number of rings could be cut, leaving the rest of the tube for another day.
Picture
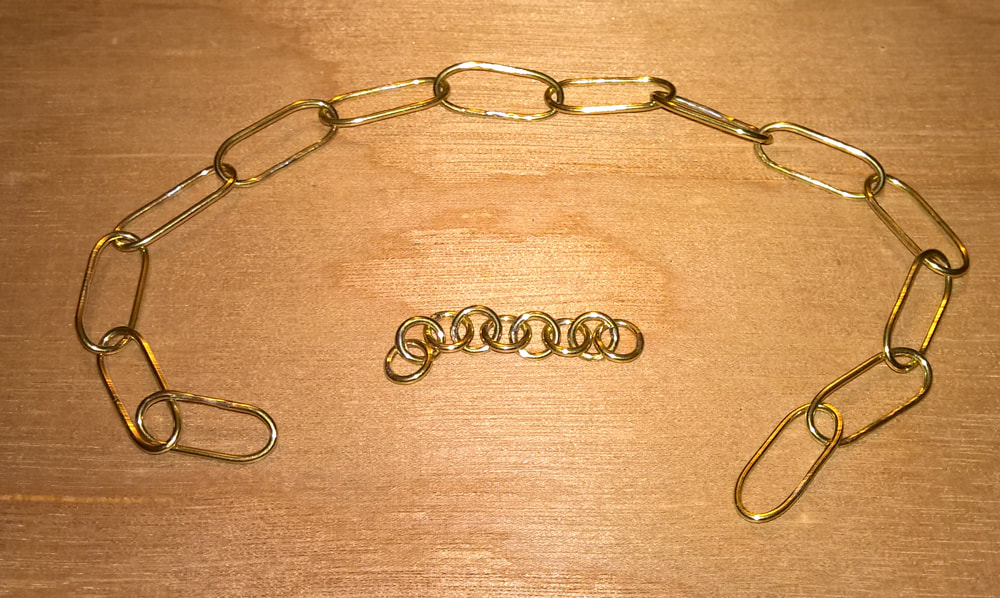
In order to make a chain, I soldered around 1\3 – 1\2 of the jump rings using the aquaflame micro welder (please Santa, I'd like one of these for christmas). 
I stretched the larger jump rings into “paperclip” shapes. 
An open ring is then used to join 2 soldered ones together, forming a chain of 3. 
This middle ring is then soldered together (and can be stretched if required). 
Another open jump ring can then be used to join two sections together to make a chain of 7, and so on...
Picture
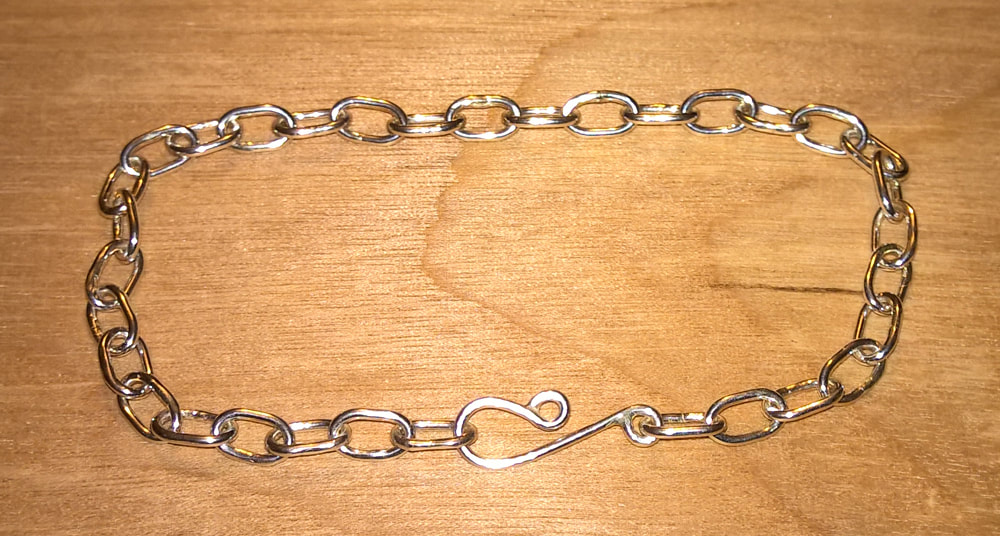
I used far too much solder on the initial chains and had to file off the excess (making even more of a mess in my opinion).  So I decided to have another go using silver to make a smaller “paperclip” link chain for a bracelet. 
Again, getting the exact amount of solder proved difficult, and this time I used a bit too little meaning I had to go in a second time to add more. 
However, I was so chuffed with the bracelet that I wore it for the rest of the day. 

Picture

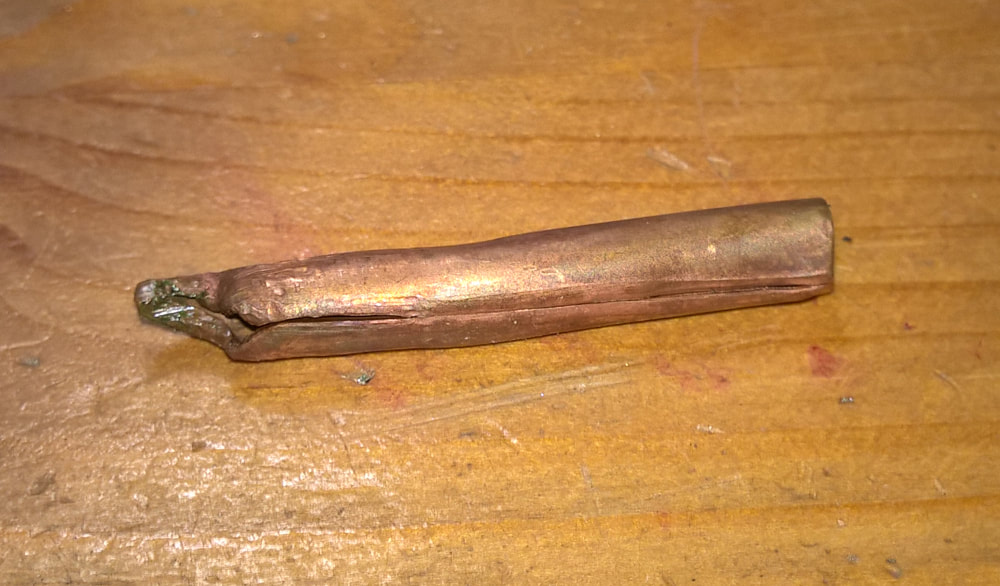
Making your own tube is a concept I never knew was possible until now, but now I know the secrets, it seems totally obvious. 
You just take a rectangle of sheet, start forming it into a U shape and then drawing into a tube using a draw plate. 
The theory is simple, but in practice it's a nightmare and I'm pretty sure I'll continue to buy it ready made.  Life's too short!
A point (called a tang) is cut at one end of the rectangle for feeding through the drawplate and providing something to grab onto.  The first few holes are easy to get through and the sheet is forced from a U shape into more of a tube.  As the opposite sides of the rectangle touch, it becomes more and more difficult to draw down into a nice neat tube. 
The finished result is a length of tube that can be soldered down it's (inevitably) curved seam topped by a mangled centimeter or two of material that is unusable.  This all seems terribly wasteful to me, and the tube we produced did not even have a nice round centred hole down the middle. 

Comments are closed.
    Go to First Post

    Contents

    Blogging
    Basic Rings
    Piercing

    Index

    All
    Basic Rings
    Blogging
    Piercing

    Archives

    November 2017
    October 2017
    September 2017

Picture
© COPYRIGHT 2025
ALL RIGHTS RESERVED
  • Home
  • Collections
    • Mini collections
    • "Simplicity"
    • "Hedera" ivy - silver
    • "Hedera" ivy - gold
    • "Fauna" animals
    • "Lulu" floral
    • "Electric" anodised
    • "Hylle" medieval initials
    • "Madison" gothic
    • "Rosa" rose
    • "Quercus" oak
  • Unique & Bespoke
    • One of a kind
    • Stacking rings
    • Bespoke
  • Lessons
  • About
    • About me
    • Awards & Exhibitions
    • Testimonials
    • Contact
  • More
    • Gallery
    • "Masquerade" Hare
    • Videos
    • Terms & Conditions